Crafts With Mod Podge and Scrapbook Paper
Jump to How-To
Use cut pieces of wood and Mod Podge to make fabulous scrapbook paper wall art in minutes. So easy and looks great on the mantel!
Skills Required: Beginner. If you've never used Mod Podge before, you'll still be able to achieve this decoupage idea. Be patient and allow proper dry times!
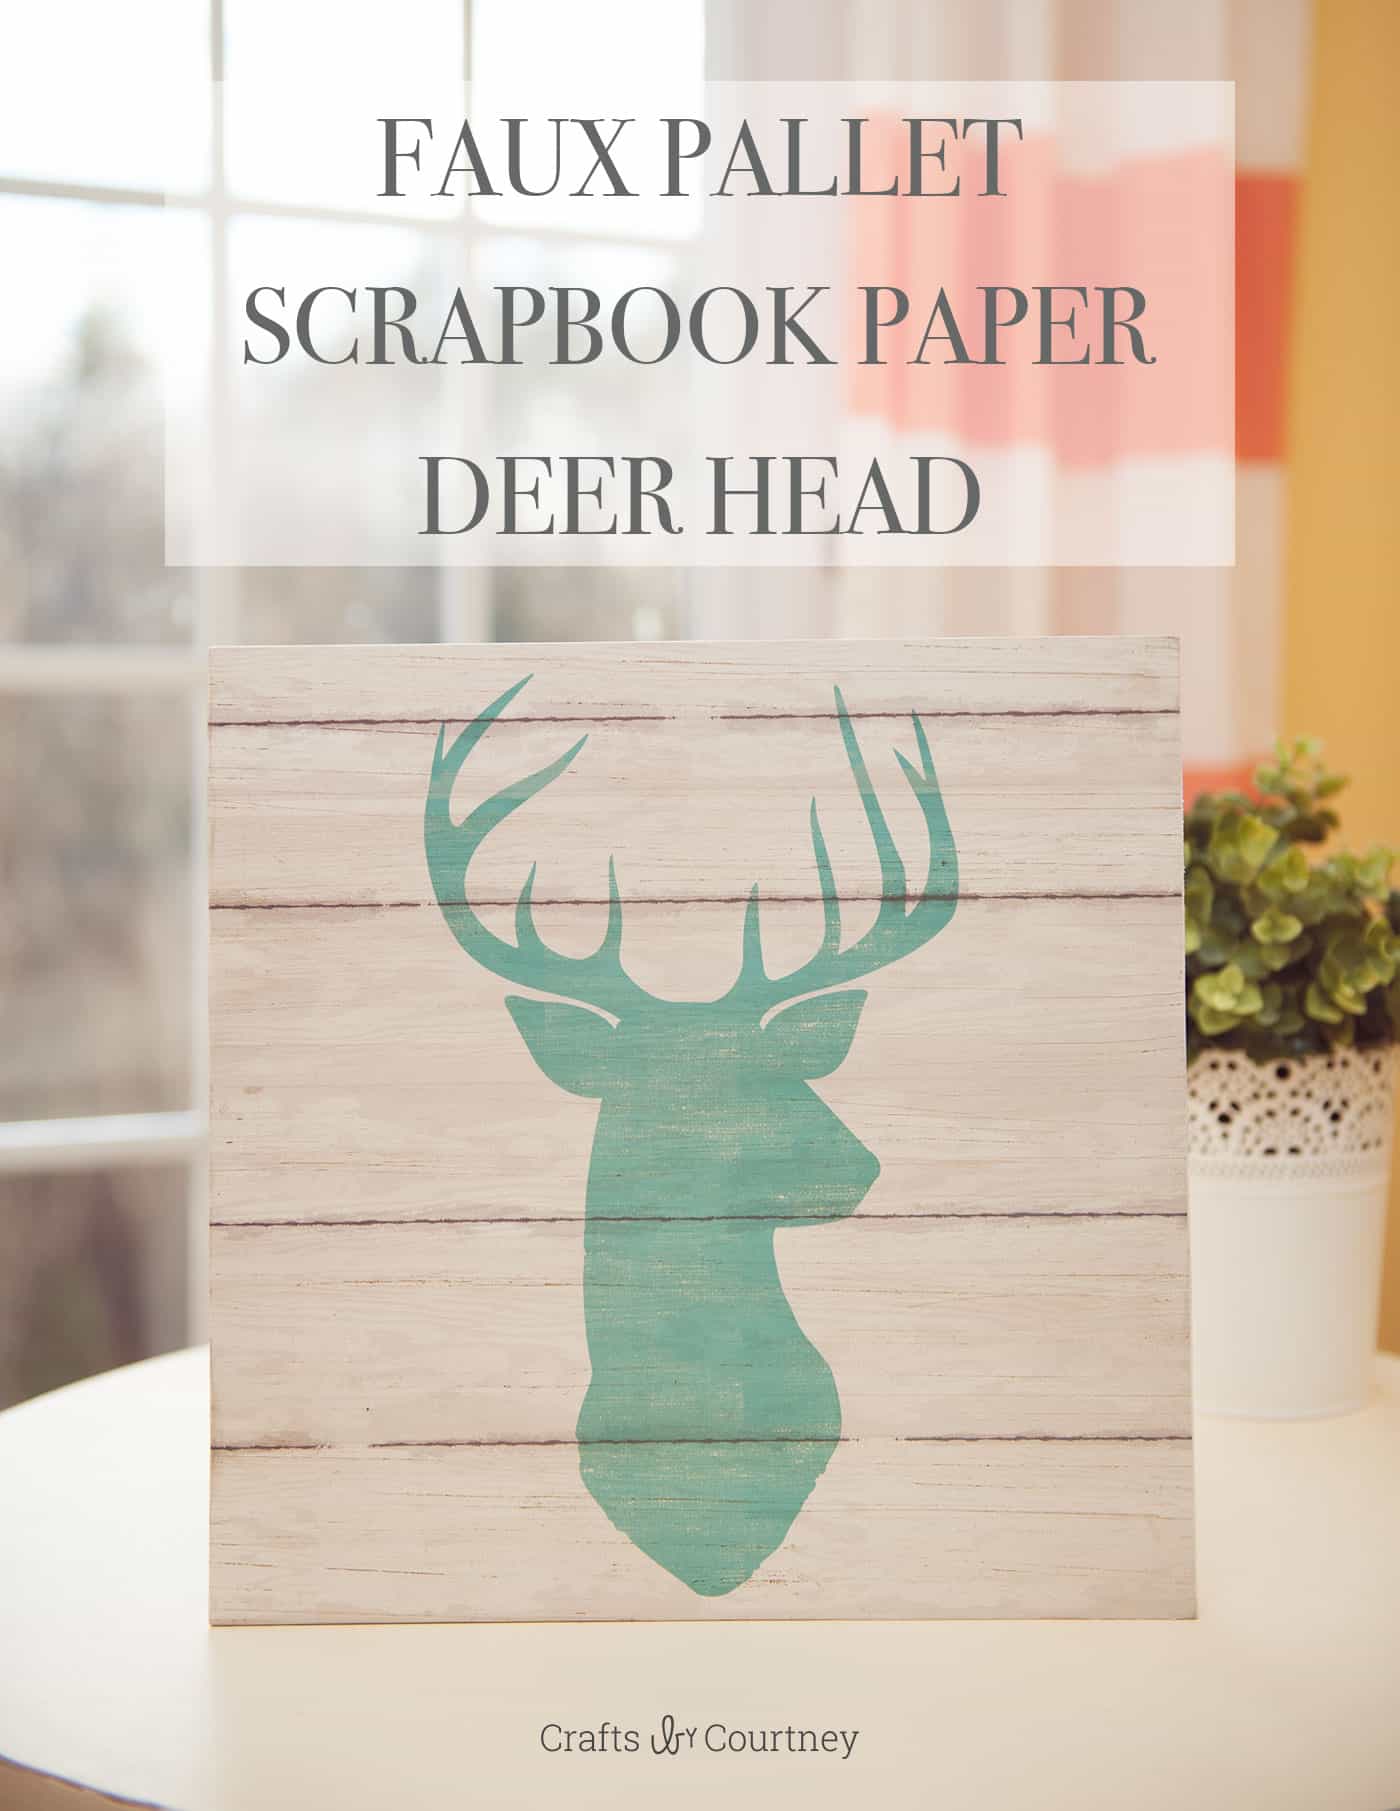
While on a recent trip to Hobby Lobby I found some great pieces of scrapbook paper. I really didn't feel like they looked like scrapbook paper. They looked more like pictures they would sell there in the home decor section.
So it got me thinking, why not make my own scrapbook paper wall art using them? I even found a cool lobster piece that I will be doing a project for later on!! That's how this home decor project was born, and you can do it in a few simple steps.
Scrapbook Paper Wall Art
I did a similar project like this for fall using extra pieces of wood I had. But this time I decided to get a piece of wood cut for this project.
I spent $7.00 on a three foot piece of wood, and had Lowe's cut it into three 12 x 12 pieces. I was super excited to get home and get crafting!
For this craft you're going to need:
- Matte Mod Podge
- Wood canvas
- Acrylic paint
- Scrapbook paper
- Mod Podge Brush Applicator
Getting Started
Since I already had my scrapbook paper and wood, I just needed to round up the rest of my supplies. Like my Mod Podge of course!
Let's get crafting!
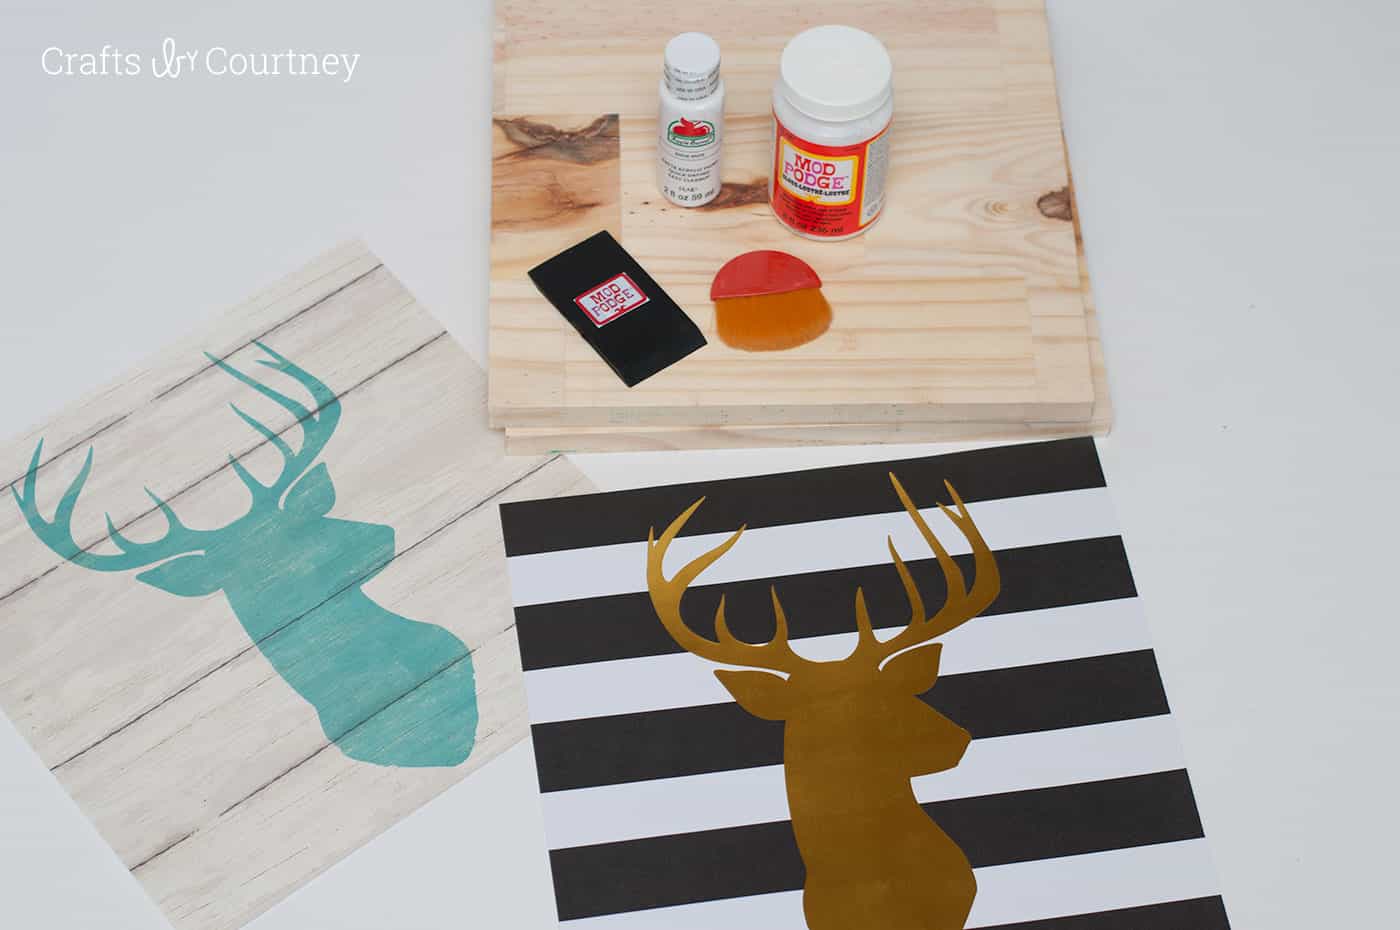
Step 1 – Paint Your Board
I only painted the sides of my wood, since the rest will be covered up by the paper. I used white craft paint and let it dry 20 minutes.
For the gold deer I actually spray painted the sides gold, but I didn't take any step pictures of the gold deer unfortunately.
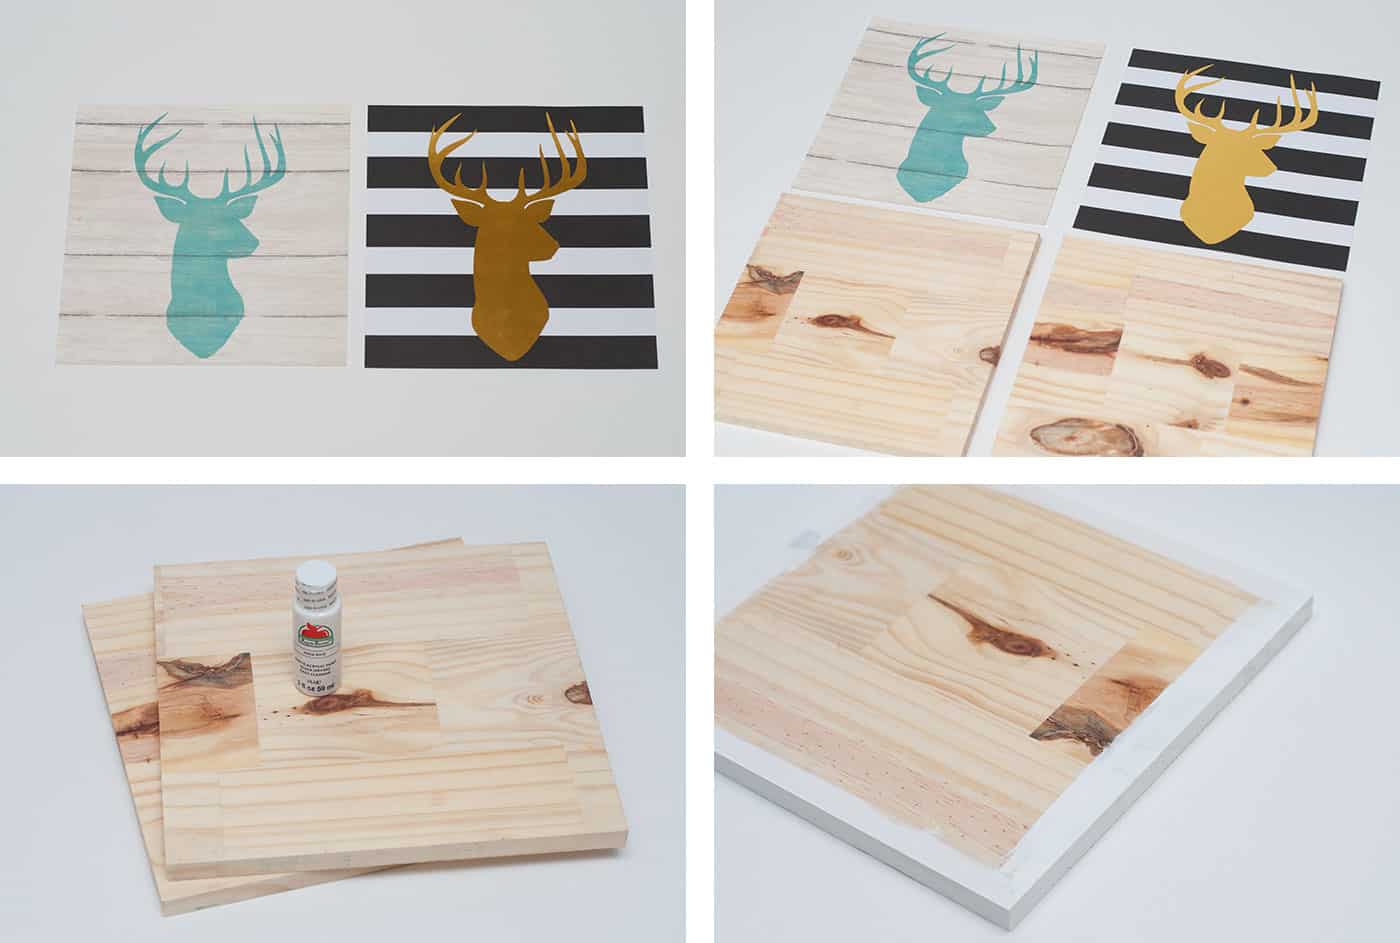
Step 2 – Add Scrapbook Paper
Next it's time to add our scrapbook paper!!
I painted my Matte Mod Podge on the front of the wood, then gently laid my paper on top of the wood. I would smooth the paper down then add more Mod Podge and smooth it down some more. Until I was finished. Pretty simple right?!?
I decided not to add any Mod Podge on the front of my paper for this project.
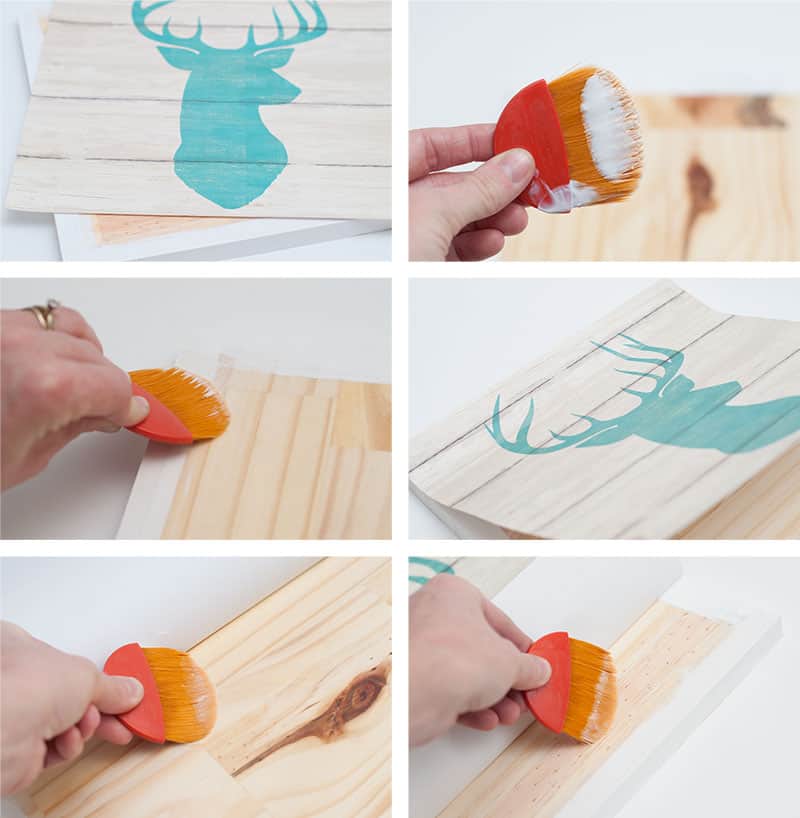
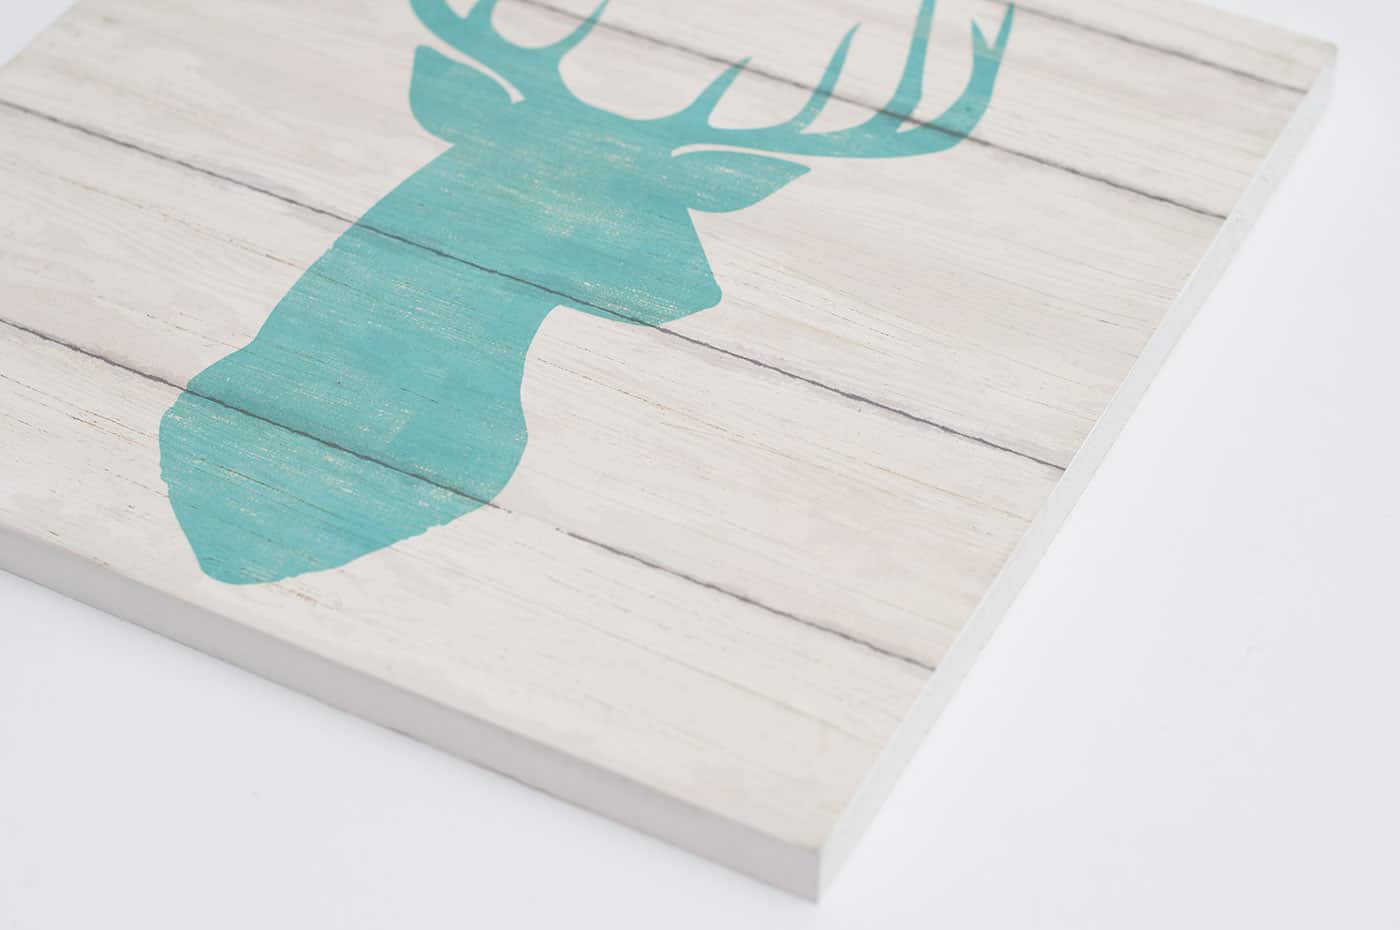
Since I got the wood cut to 12×12 it fit perfectly on the wood, YAY!! No cutting needed.
Finishing Touches
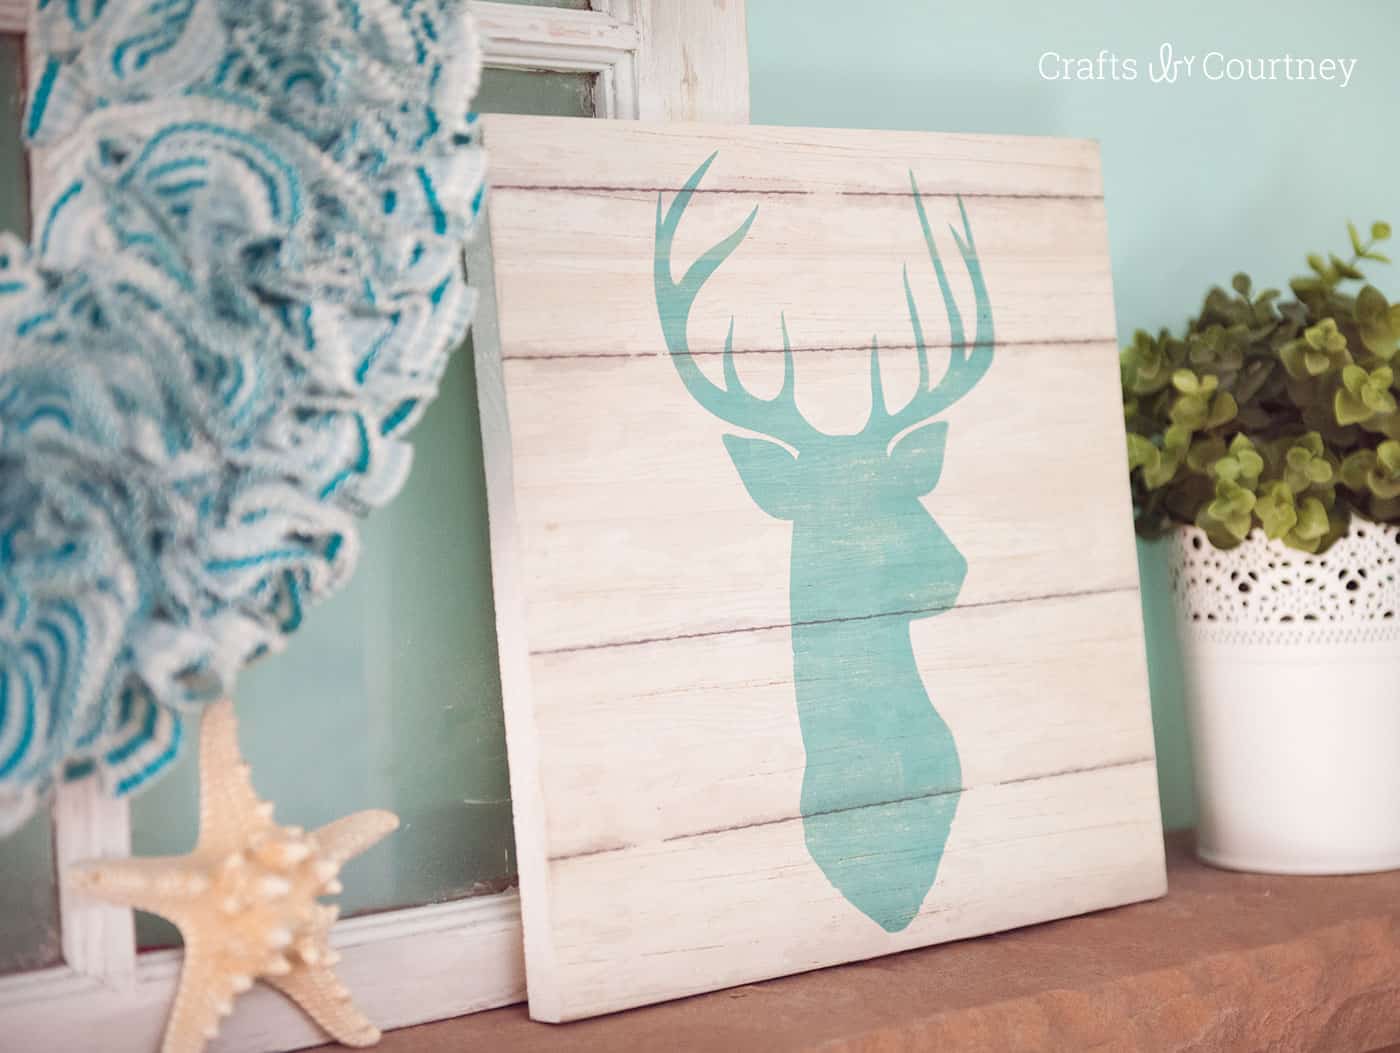
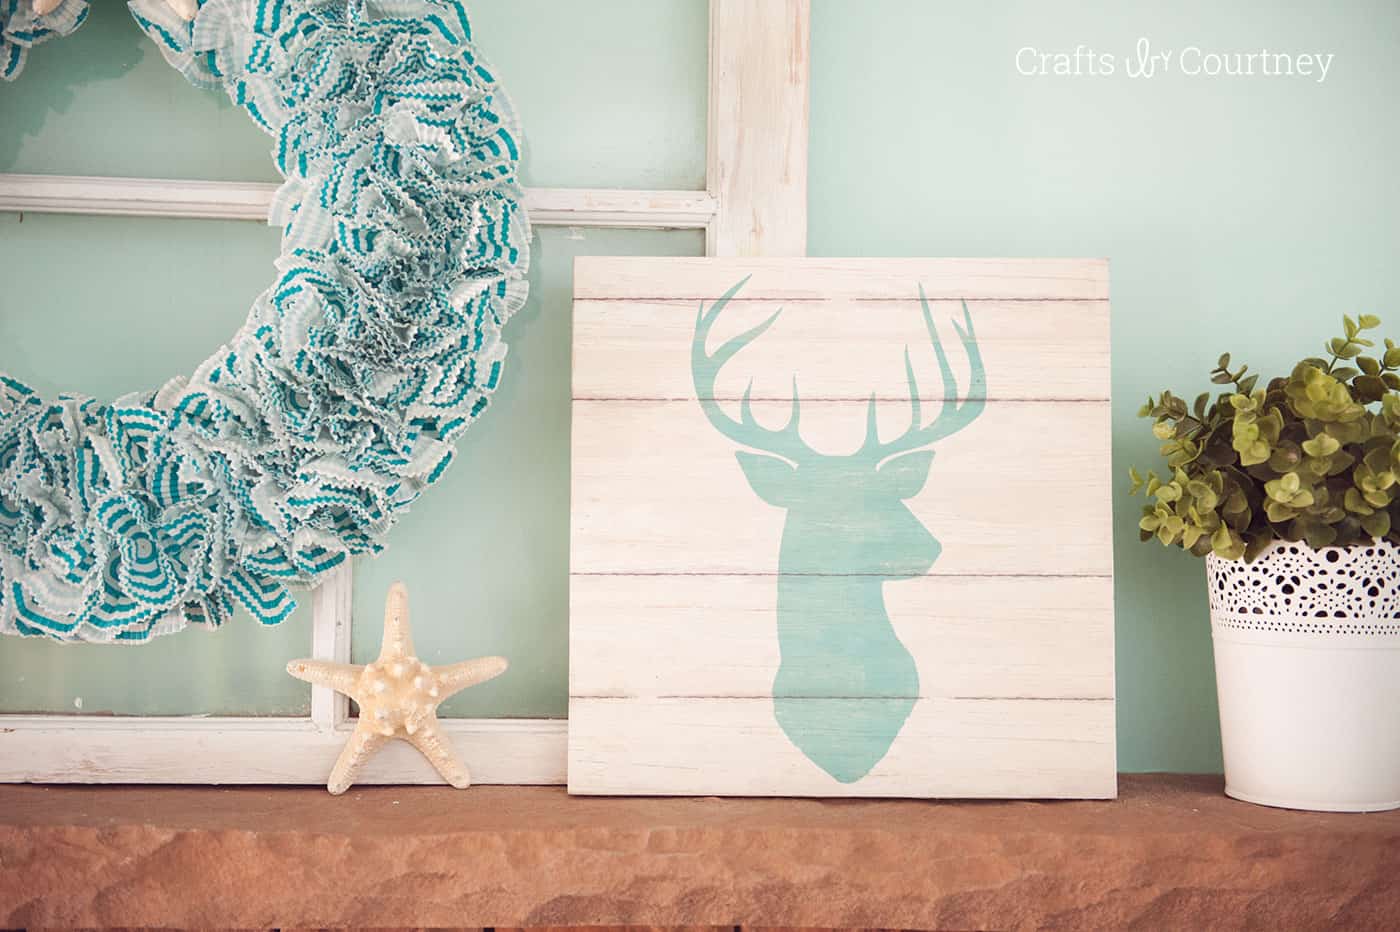
Since Mod Podge dries pretty fast, I was able display it right away on my mantel. Right now it's winter, and I think my scrapbook paper wall art looks great.
But honestly I think this deer could be up all year long. Deer heads are so popular right now!
Here is the gold deer. I really like them both, I don't know which one is my favorite.
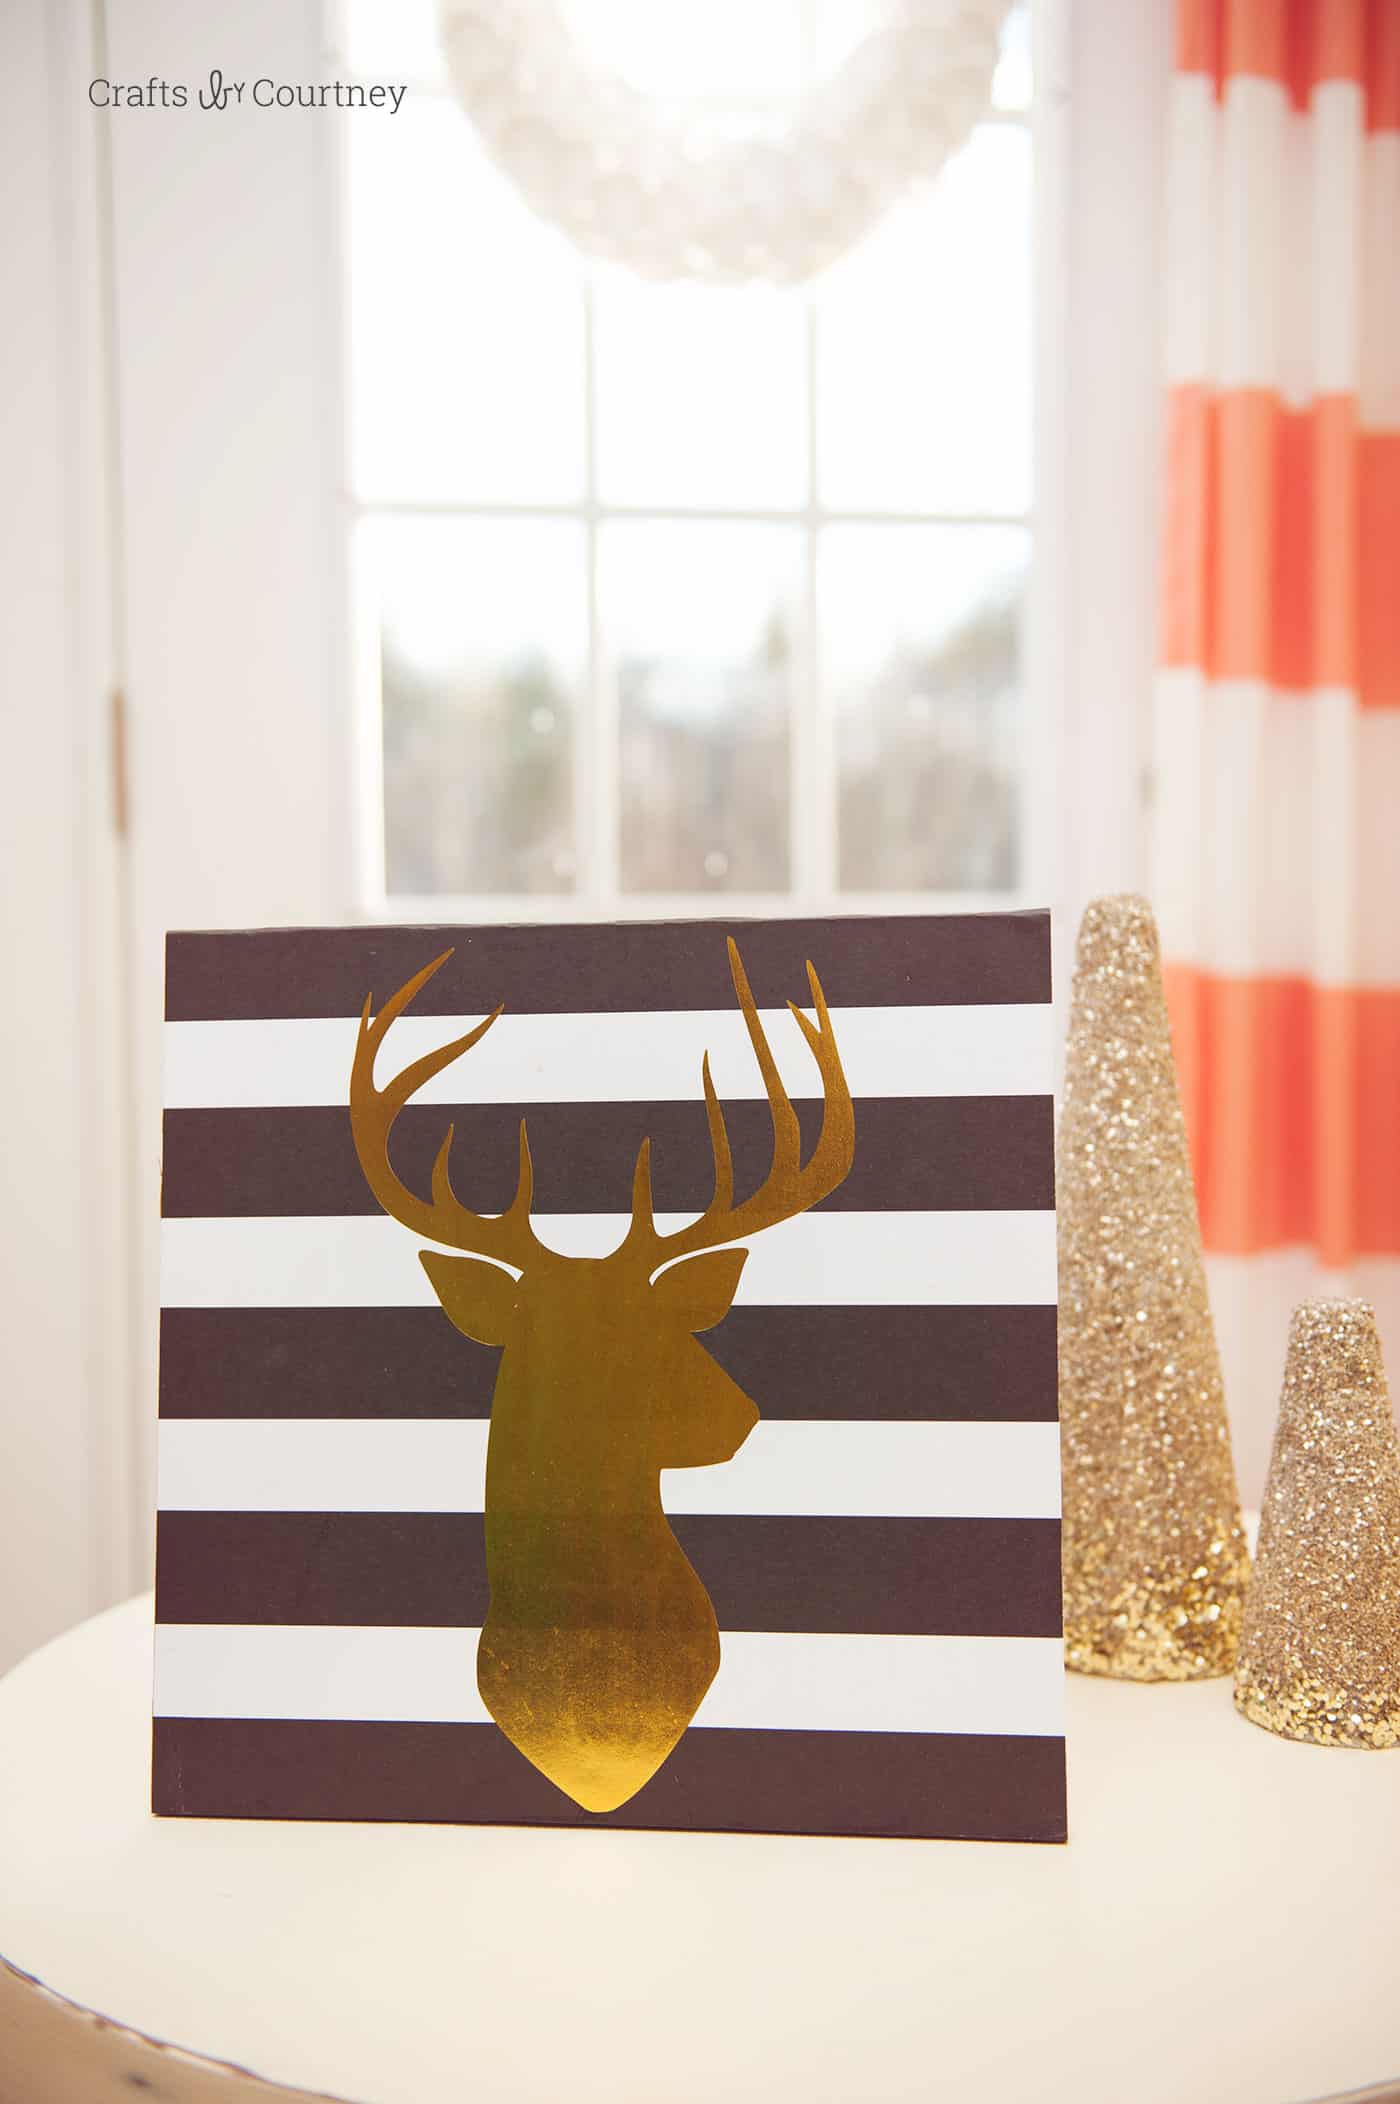
This scrapbook paper wall art was such an easy project to work on, and totally cost effective. I only paid .59 cents for the piece of scrapbook paper and $7.00 for the wood. Cute and inexpensive . . . win win!
Prep Time 10 minutes
Active Time 15 minutes
Additional Time 20 minutes
Total Time 45 minutes
Difficulty Easy
Estimated Cost $8
Materials
- Matte Mod Podge
- Wood Canvas
- Acrylic Paint
- Scrapbook Paper
Tools
- Mod Podge Brush Applicator
Instructions
- Paint the wood canvas. Only the sides of the wood need to be painted, since the rest will be covered up by paper. Let dry for 20 minutes.
- Paint the Mod Podge on the wood canvas, then gently lay the paper down. Smooth out the wrinkles and let dry for 20 minutes.
- Add a top coat of Mod Podge and let dry for 24 hours before hanging.
Now I need to get started on my lobster for the Summer (I just LOVE a lobster!). I need to think of something really cool to do with that one!!
Any suggestions?? I'd love to hear them in the comments! I'd also love for you to check out these other fun posts:
Crafts With Mod Podge and Scrapbook Paper
Source: https://modpodgerocksblog.com/scrapbook-paper-wall-art/
0 Response to "Crafts With Mod Podge and Scrapbook Paper"
Post a Comment