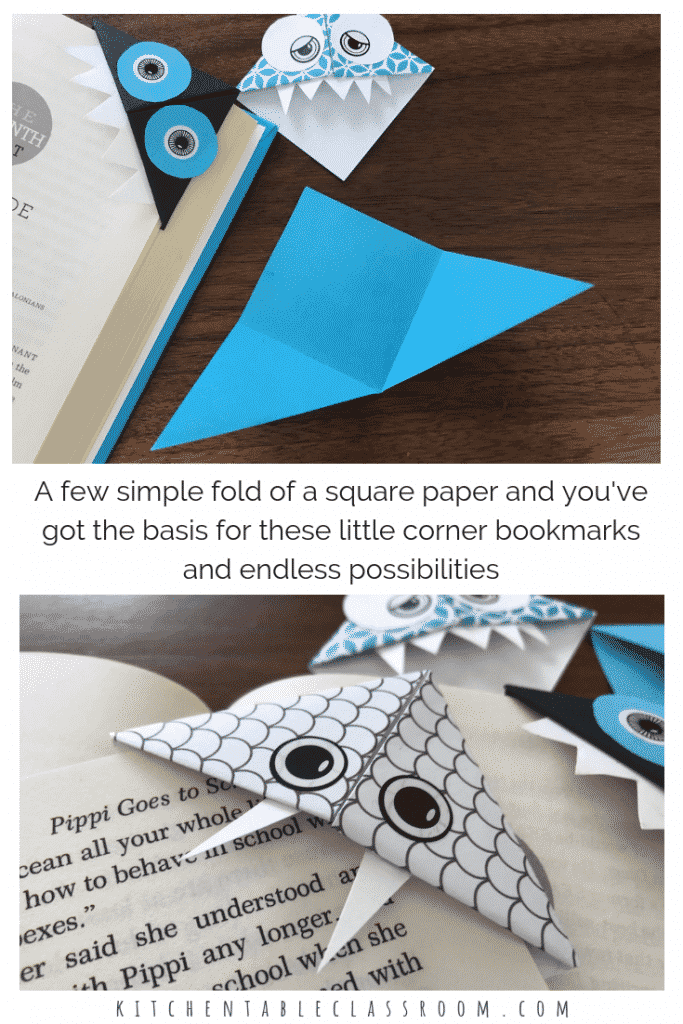
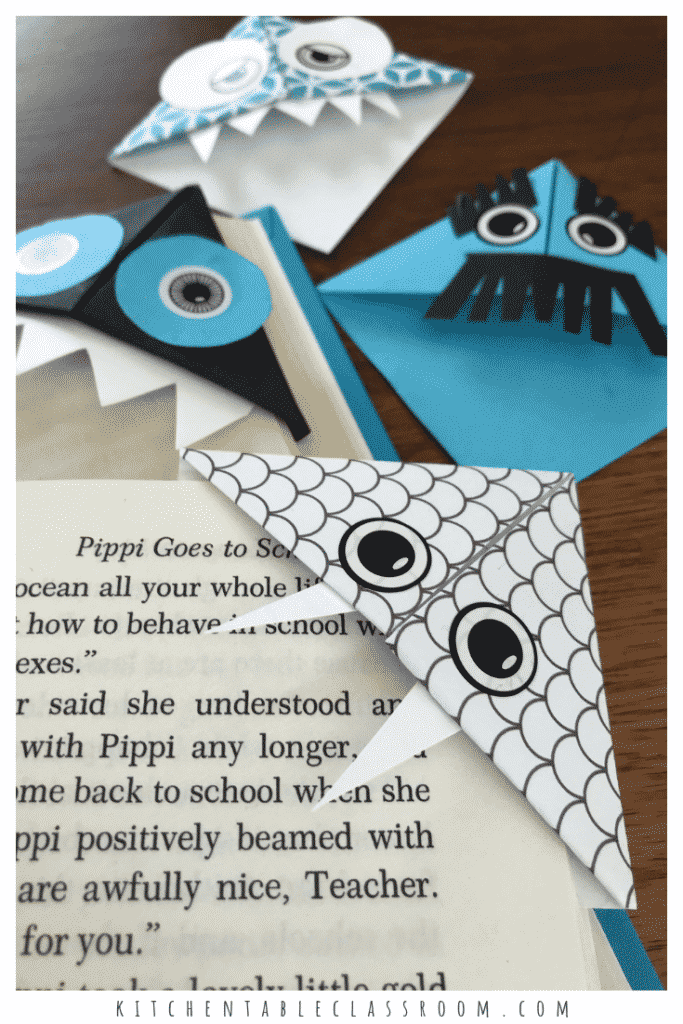
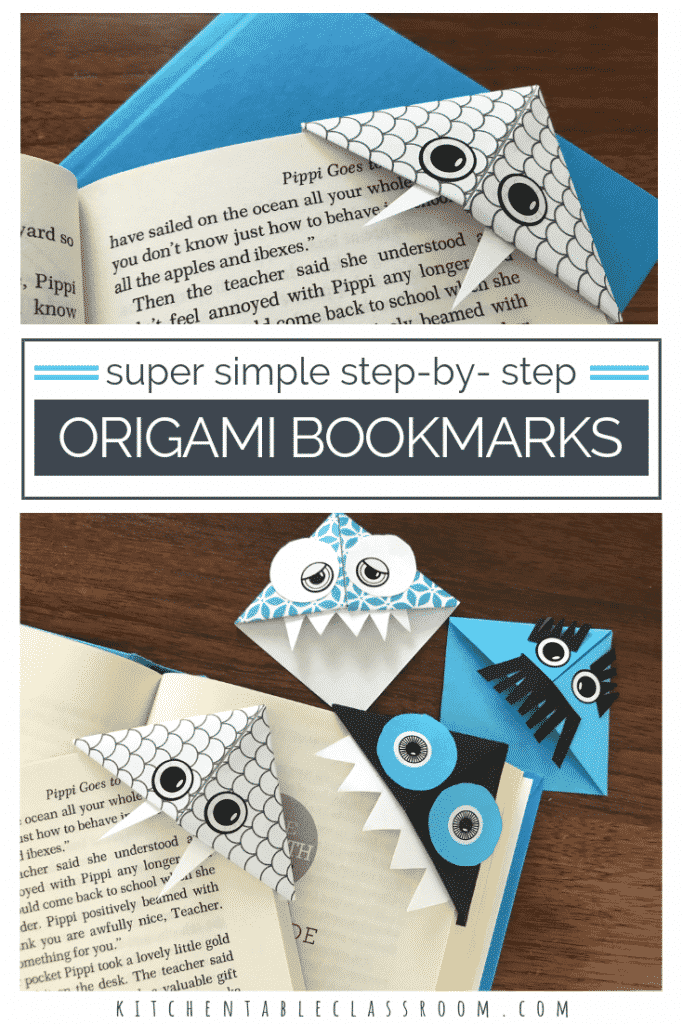
Free Pattern for Origami Corner Bookmark

Let me start by saying I am not a master of origami. Projects requiring precise instructions in order to produce results usually result in me throwing my hands in the air. This little origami bookmark has just a few easy steps and offers lots of possibilities.
The beginnings of the origami bookmark…
Let me start by saying this bookmark origami isn't my original idea. I did not invent origami or bookmarks. (Surprising, right?) These little corner origami bookmarks are everywhere. I made a version of these when I was teaching in the regular classroom 15 years ago.
I am a super visual person and I really struggled to find instructions for this that clicked with my brain and were printable. Hence my pictorial, step by step, printable instructions were born.
While the basis this for these origami bookmarks isn't original there are unlimited possibilities for original thing to do with your corner bookmark once you get the process down. It's quick and simple and super fun!
Bookmark origami supplies….
Origami paper is awesome. It is thin for easy folding, comes in awesome colors, and is relatively inexpensive. Plus, it's already cut into squares so there's no room for error there. Check out this economy box of origami paper here.
That being said any lightweight paper will do. I used colored copy paper such as this Astrobright 24 pound paper in assorted colors. Printed scrapbook paper can also be a fun way to add pattern to your finished origami bookmark.
Materials for embellishing can be anything and everything. We used scraps of paper, Sharpie markers, and these awesome eyeball stickers.
The materials list is super small. All you really have to have is paper. That's it! You could literally make these out of newsprint and they would still be adorable. Use your imagination and use what you have!

Getting started on your origami bookmark….
You need square paper for this origami bookmark to work. Depending on the finished size you desire somewhere between four and six inches is a good starting point. The origami bookmarks below were created using a 5 inch square.
Fold square paper in half diagonally.
Fold each point of the triangle up to meet the tip. It will now look like a square.
Unfold the tips and return paper to a triangle shape.
Fold only one layer of the tip of the triangle down to meet the bottom.
Tuck the long points of the triangle up and under the folded tip.
Do this to both sides to create a pocket in which the corner of a book page will fit.
Check out the visual instructions below for a hands on look at the folding process!

Want to grab a black and white PDF of visual instructions for the origami bookmark….
If you'd like to grab a set of printable step by step set of directions yo make your own origami bookmarks you can get them for FREE when you're a KTC subscriber. Use the form below to sign up. Then head to your email inbox and confirm that you meant to sign up.
When you've confirmed your subscription you'll immediately receive your printable origami bookmark directions immediately.
As a subscriber you'll also begin receiving my weekly Kitchen Table classroom emails. My best ideas and newest free printable resources will be delivered right to your inbox!
Are you already a KTC subscriber?
If you're already a KTC subscriber you can still use the above form to grab your origami bookmark directions. It's a fast and easy way to get your free download.
You can also find the bookmark directions in my Free Resource Library. It's a great place to go to browse the hundreds of free printable resources!

Why monster bookmarks…
Make a monster, an animal, an abstract design, or a cartoon character. The basic steps are the same. Once you get that cool little pocket shape that fits onto the corner of a book page you're in business and ready to create!
Making these little babies into "monsters" allows for lots of shapes and features to be added on. After all monsters can look any way you can imagine. Horns, eyelashes, teeth, scales- whatever your kiddo wants to make!
Feel free to break the rules and collage on them, Zentangle on them, whatever floats your boat. you're an artist. You're kinda' supposed to break the rules! And if you're gang is really getting into the origami thing check out this post on folded paper snowflakes. Learning just a few simple folds unlocks so many possibilities with these deceptively simple snowflakes.
Want to make a bookmark alongside me…
Watch the video above and let's make bookmarks together! I'll show you step by step how to make these sweet bookmarks!

If you like this origami bookmark ideas please share on your favorite social media channel!
Every single share helps me grow the Kitchen Table Classroom a little bit and bring you more fun projects (like this bookmark origami) and free printables resources!
Free Pattern for Origami Corner Bookmark
Source: https://www.kitchentableclassroom.com/origami-bookmark/

0 Response to "Free Pattern for Origami Corner Bookmark"
Post a Comment