How Do You Make an Accordion Scrapbook
Create a sweet accordion album for Mother's Day using scrapbook paper and chip board! A fun gift and keepsake that can be displayed all year!

This site contains affiliate links. I may receive a commission for purchases made through these links. As an Amazon Associate I earn from qualifying purchases. [Learn more]
Mother's Day is coming up quickly and today I have a fun DIY gift you can create! I love giving picture gifts for Mother's Day and Father's Day, especially with little ones in our family now. Our kids are changing so quickly, it is nice to give updated photos to grandparents. These little accordion albums are perfect for displaying in the house or at the office. This album is created with a sweet flower opening for the cover photo. This is where a cutting machine comes in handy. If you don't have one, you can keep things simple by sticking with a square opening – it will be just as cute!
These albums don't take a lot of supplies! Grab some decorative paper, chip board, and your favorite photos and you're ready to go! This was my first time cutting chip board with my Cricut Explore and it was fun to play around with! I used a deep cut blade and was really pleased with how nice the flower cutout worked. I'm still excited every time I use my Cricut. I'm not sure if that novelty will ever wear off!

Below is the tutorial for these cute little albums and the free patterns. I've been having a blast crafting with all these beautiful floral papers! I really hope we have a nice, sunny Mother's Day weekend! As I'm writing this, it is pouring out – at least our plants outside are getting a nice watering! :)
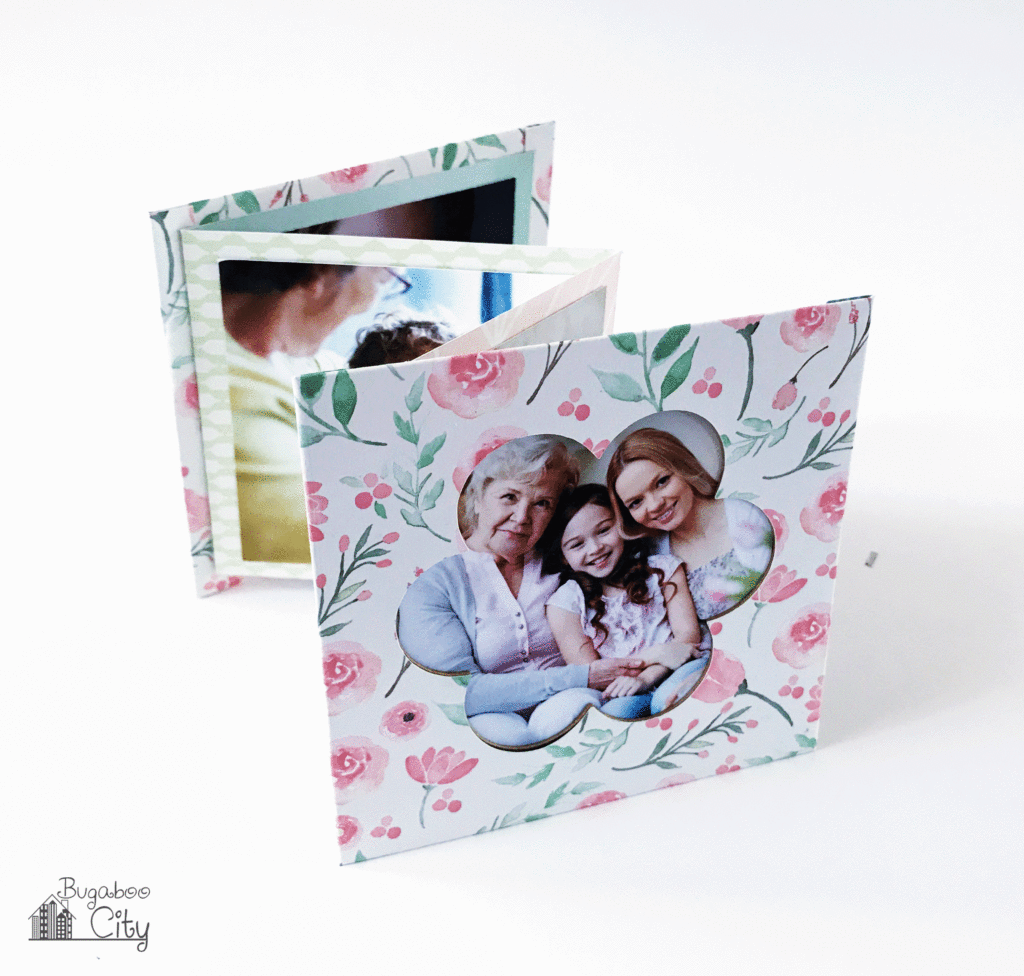
DIY Accordion Album
Supplies Needed for DIY Accordion Photo Album
- Free PDF pattern and SVG Cut file: Links located at the end of this post
- Decorative paper – I used three different patterns
- Chip board
- Glue stick
- Tape Runner (optional)
- Cutting machine supplies:
- Deep Cut Blade
- Cutting by hand supplies:
- Scissors
- Pencil and ruler
- X-Acto knife and cutting mat
- Scoring board and stylus
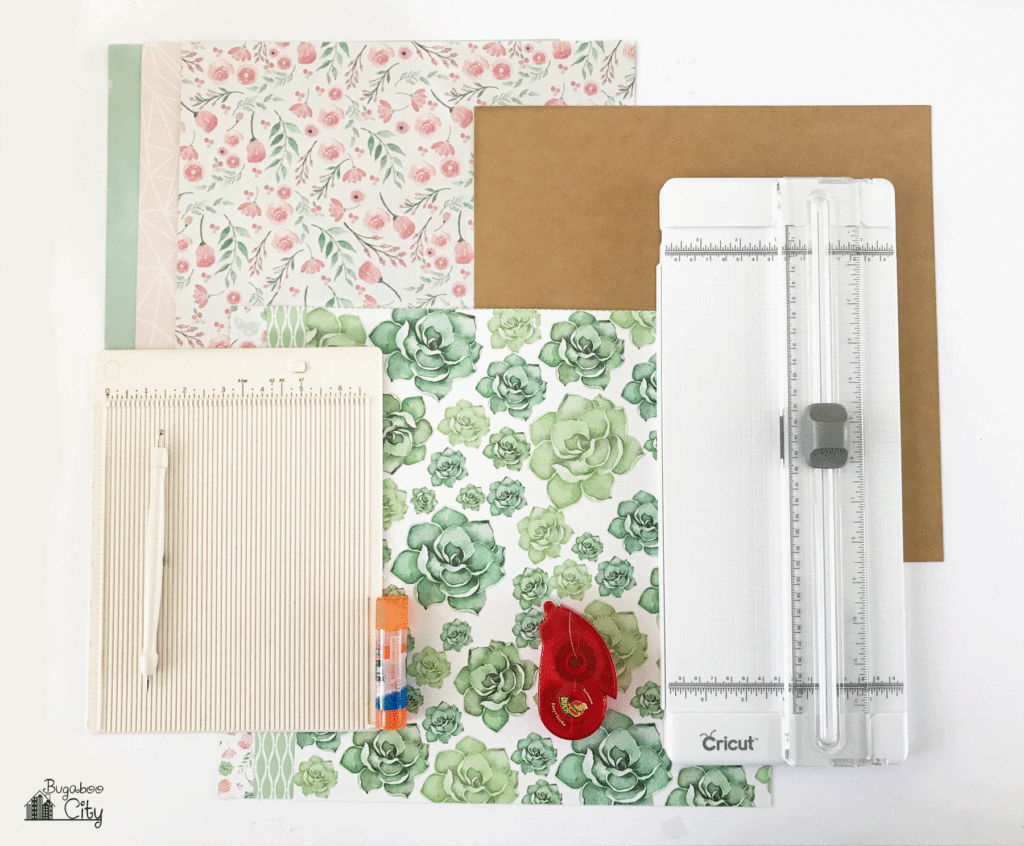
Step by Step Tutorial
Step One: Cut out all of the pieces using the free printable pattern. If cutting by hand, you can add score lines with a scoring board and stylus. Cut out the picture window on both the front chip board and front decorative paper pieces using an X-Acto knife and cutting mat.
If you are using a cutting machine, import the SVG into your cutting software. I have a Cricut Explore so I imported the SVG into Cricut Design Space. The following steps are how I prepared the pattern before cutting it.
Open the SVG file and insert it into Cricut Design Space. There are three layers, in pink, that are score lines. Change these from cut lines to score lines. You will need to connect these to the right piece. To do this, first, "Select All" and then "Ungroup". Highlight the score layer and the pattern piece they match up with and "Attach". You are then ready to hit "Go". Make sure you switch your blade and settings for the chipboard pieces and insert your scoring tool!
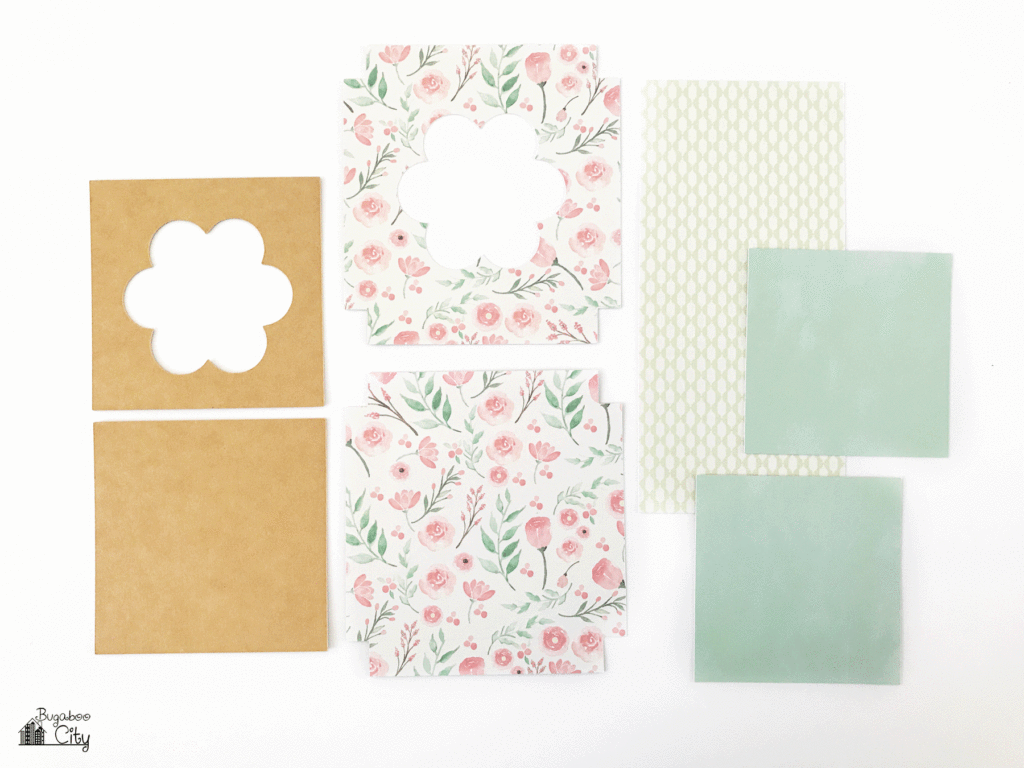

*Tip: You can decide which way you want to position the flower opening. Make this decision before cutting your papers, or if using non-directional paper, you can decide on this later. The two albums I created each have the flower positioned a different way to better suit the photo I was using. (See picture below)
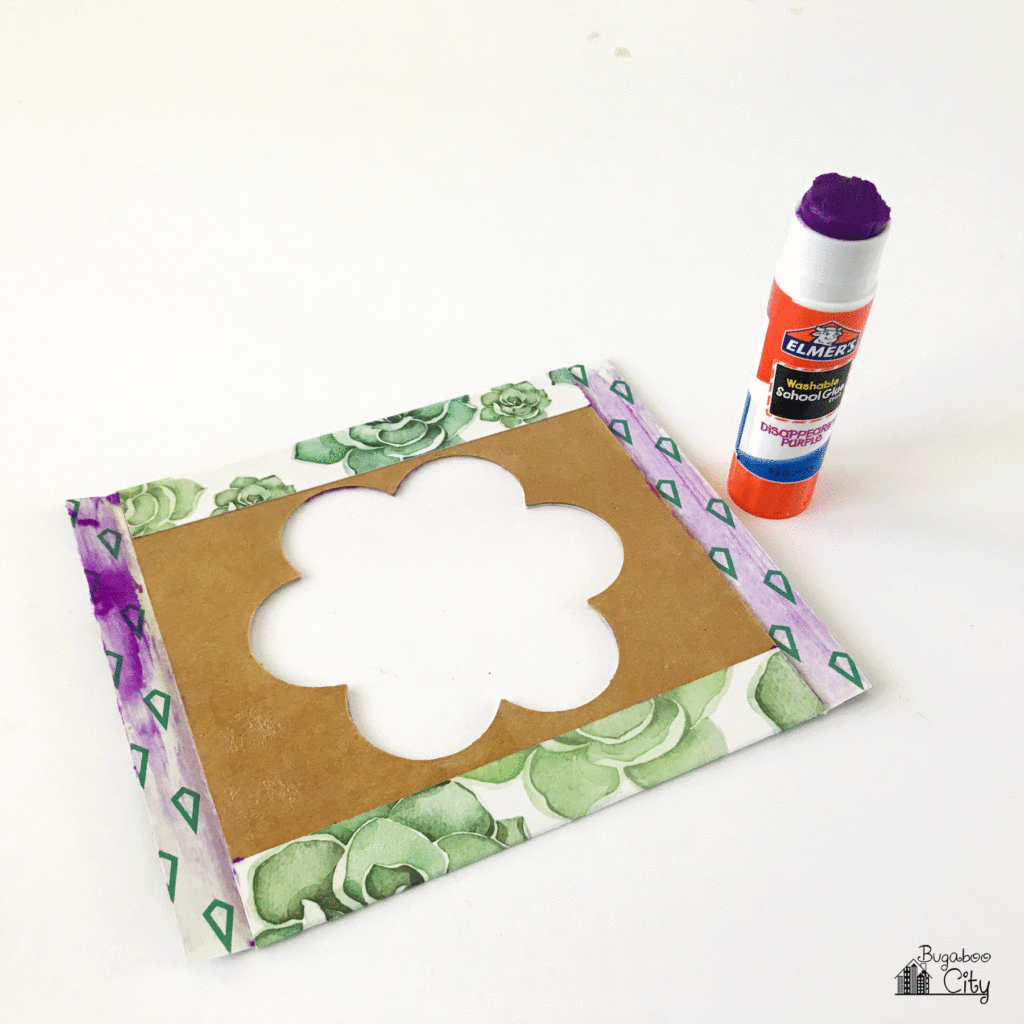
Step Two: Wrap the chipboard pieces with the decorative paper. After the decorative paper is scored along the fold lines, glue the chipboard in place, centering it on the decorative paper covers.
Wrap the edges of the paper around the chipboard and glue down. You can let these sit under a couple heavy books as you do the next step.



Step Three: Create the center of the album. Score the fold lines and fold like an accordion.

Step Four: Assemble the album. Glue or tape one of the lining pieces to the accordion folded piece. Center this on the back of the album cover and glue or tape it down. Make sure your album covers are going the right way if they have a pattern on them.
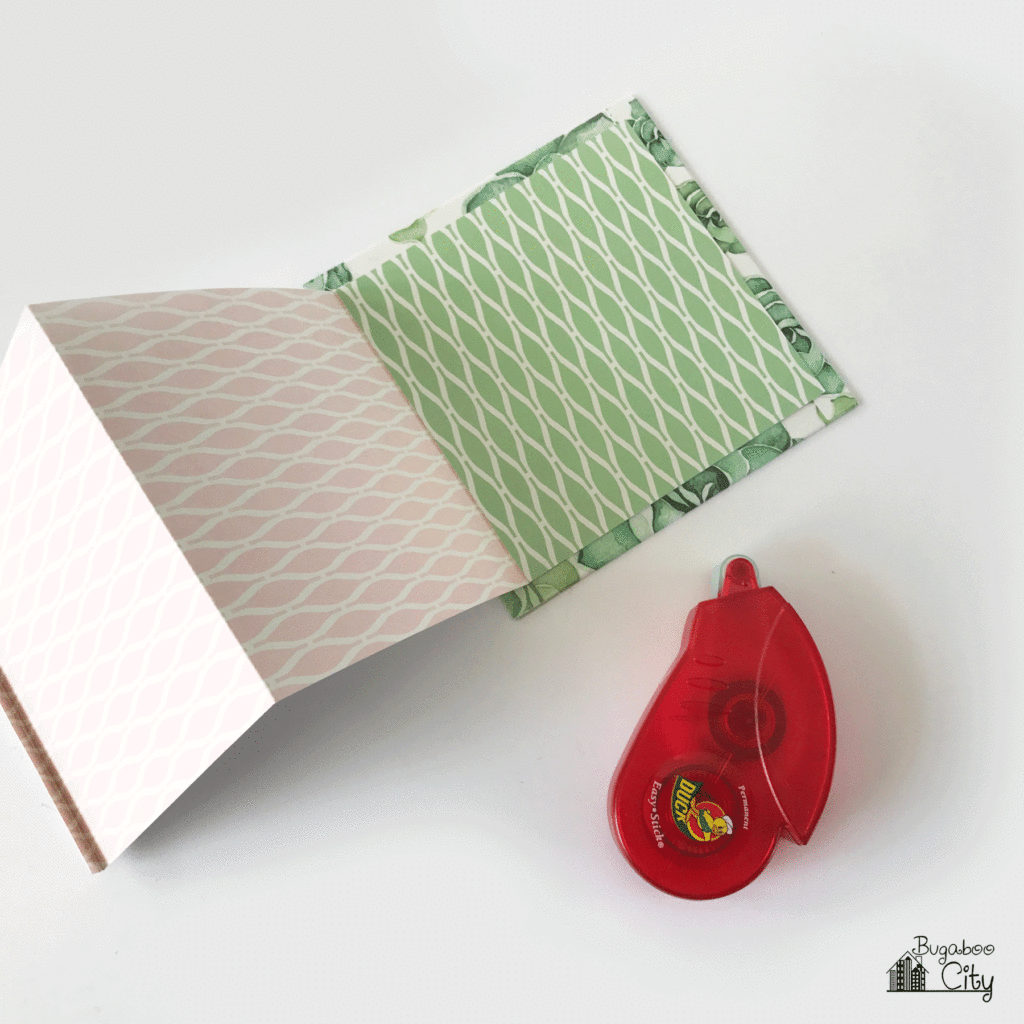
Repeat the step above for the front of the album cover, but you will need to leave a spot to slip a photo in. I used my tape runner for this and put a thin strip of tape along all three sides of the lining, leaving the top open and making sure I left a space large enough for the flower opening. You could also glue or tape your photo in before covering it with the lining. It wouldn't be removable – but it would be easier! :)


Step Five: Add your photos! The album will fit 7 photos total, including the cover photo. This is the really fun part! I love looking through the crazy amount of photos I take of our kids and choosing the perfect ones! I cut each photo that would be inside the album down to 3.5″ x 3.5″. For the cover photo, I played around until I found a photo that worked well with the flower openings, then cut it to fit.
Tip: You could also alternate between photos and little pieces of artwork your children create!



I love these little albums! They really make great gifts any time of the year. Just by switching up the picture opening on the front, you can customize them for any occasion. The flower opening is perfect for this time of year, especially for a sweet little Mother's Day gift! If you are looking for more fun DIY Mother's Day gift ideas, visit my Mother's Day craft page for more inspiration! :)


Download the Free File!This freebie is in myResource Library. The files are under Mother's Day . Enter your first name and email to get the password to download this file. You'll also have a chance to sign up for my newsletter to receive fun craft tutorials, tips, updates and more FREE files to help make crafting something special and unique easier!
** I filled these fun DIY accordion albums with pictures of my kids to use as Mother's Day gifts. For the purpose of these tutorial pictures, I used photos from Freepik.com to fill the albums. **Grandmother, Mother and Child: Designed by Freepik
Mom with Baby: Designed by Freepik

This post includes affiliate links under the "Shop the supplies I used". This means if you click on the link and purchase the item, I will receive an affiliate commission. Regardless, I only recommend products or services I use personally and believe will add value to my readers.


How Do You Make an Accordion Scrapbook
Source: https://www.craftingcheerfully.com/diy-accordion-photo-album/
0 Response to "How Do You Make an Accordion Scrapbook"
Post a Comment