How to Make a Basket Origami
Paper baskets can be very useful if it is made correctly. Learn how to weave a basket with paper that is strong and durable. It's super easy, you can also involve the kids to teach them a little about basket weaving.
DIY: Paper Basket Weaving
I've been listing craft ideas that are fun, green, and therapeutic and I can't wait to share them with you all! I'm starting off with this woven recycled paper basket. You can use any kind of leftover paper to craft this basket. This recycled paper basket project is undoubtedly a fun family craft project to try out any weekend.
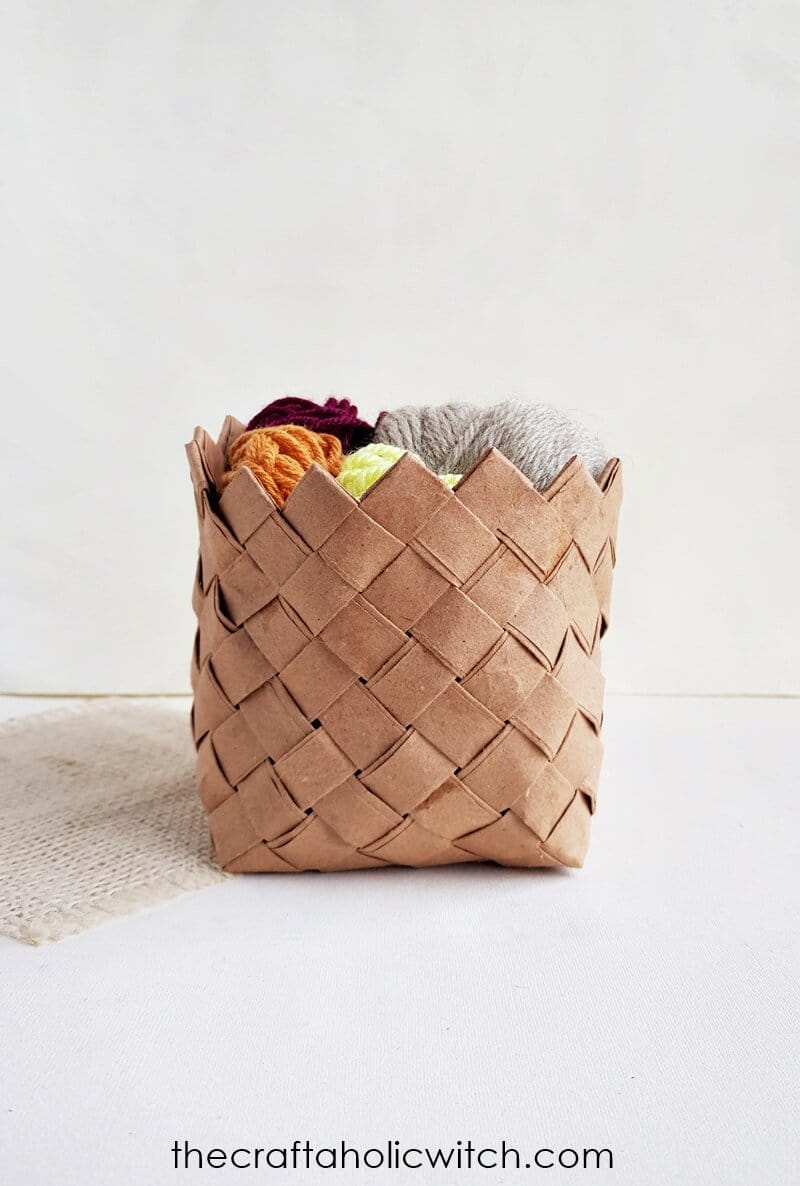
If you're looking for a nice start to your therapeutic craft journey this recycled paper basket would be a great project! It involves recycling, weaving and you get yourself a woven basket that can be used for string so many things or simply as decor!
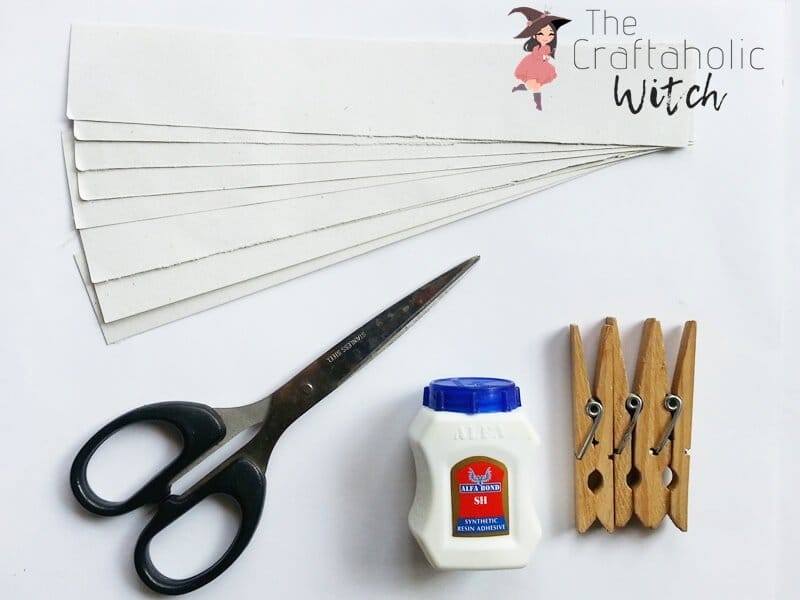
List of Supplies
- Any kind of paper (I recycled the papers I had, you may use new ones as well as the newspapers or magazine papers)
- Clothespin
- Scissors
- Craft glue
How to Weave a Basket out of Paper
Step 1: Preparing the Paper Strips
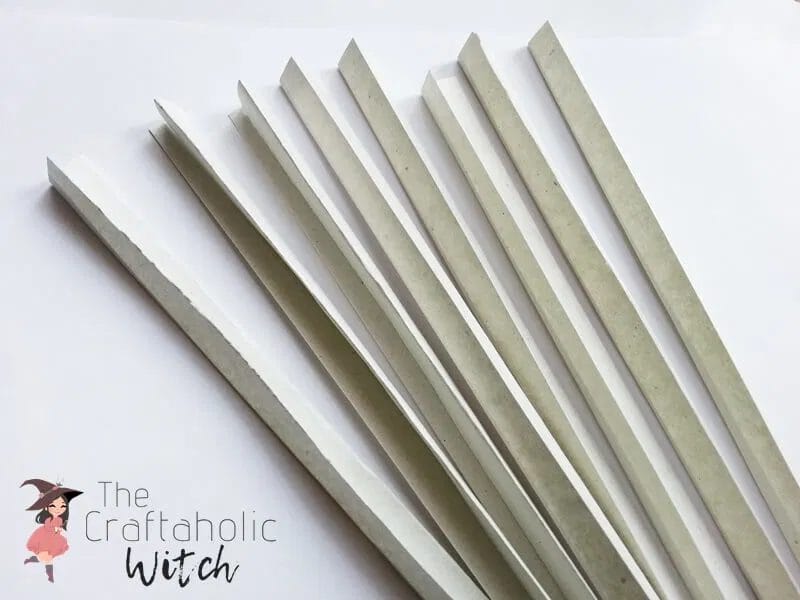
Firstly, we need to prepare our paper strips. This is a very important step because we need to prepare an even number of strips of the same length and width. Keep in mind that we need an even number (which will still have an even number of strips after diving into 2 groups) of paper strips (a minimum of 8) to weave this basket pattern. We then will have to divide the strips into 2 even-numbered groups. For this tutorial, we are using a total of 8 strips; dividing them into 2 even groups of 4 strips. The strips I am using were scrap papers from A4 sheets. These are 11 inches long and 2.5 inches wide. I then did 3 even folds lengthwise to prepare the strips for weaving.
Step 2: Getting Started with the Papers
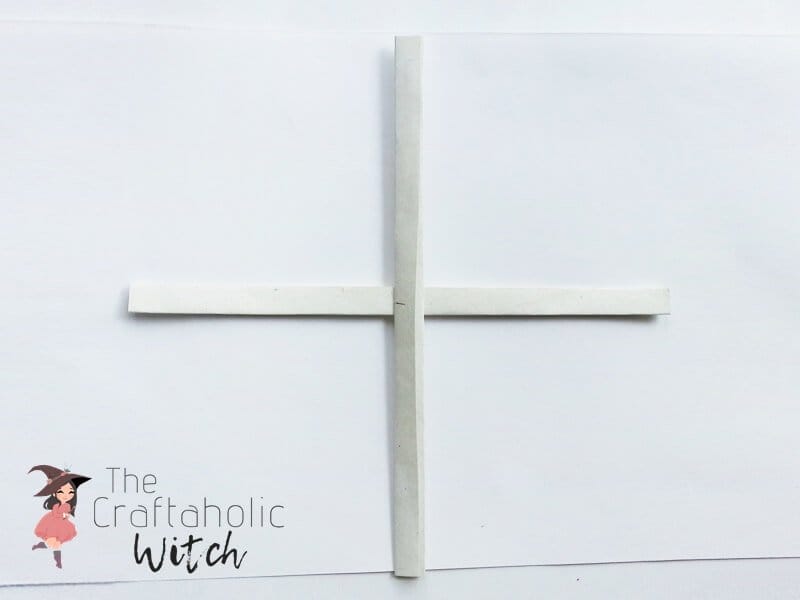
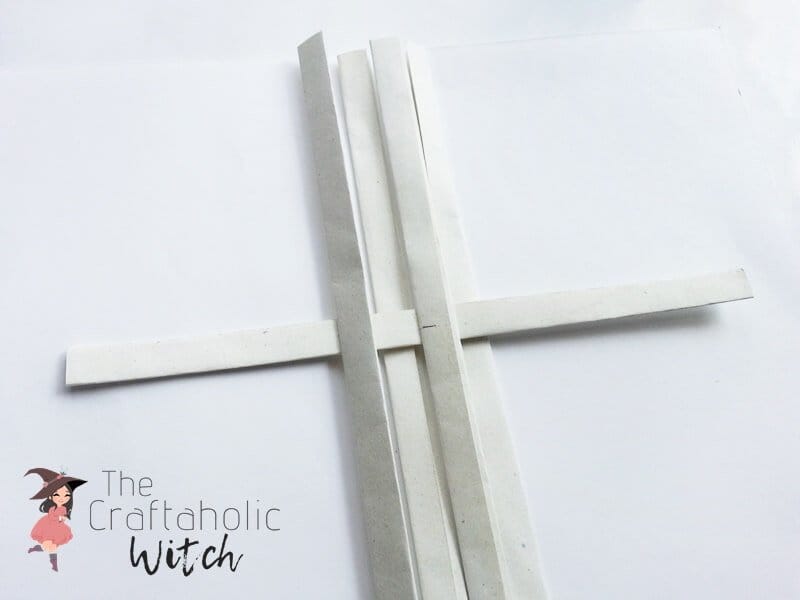
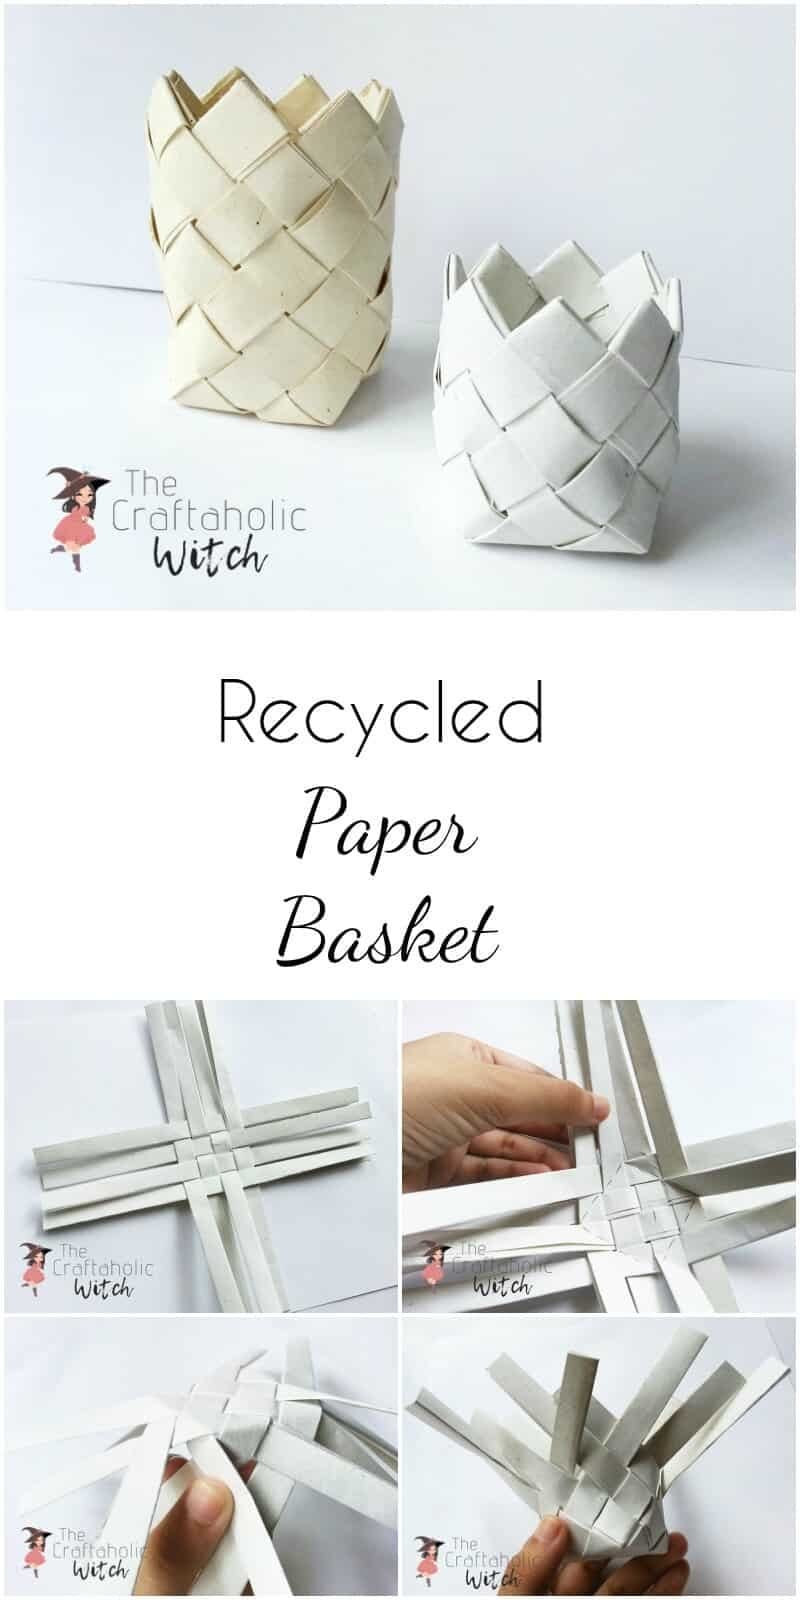
Grab any 2 paper strips and mark their middle part with a pen or pencil. Place the strips on a flat surface criss-cross wise.
Step 3: Weaving the first Strip
Take 3 paper strips and place them side by side with the vertical strip but making sure to keep the pattern over and under with the horizontal strip.
Step 4: Weaving the Base
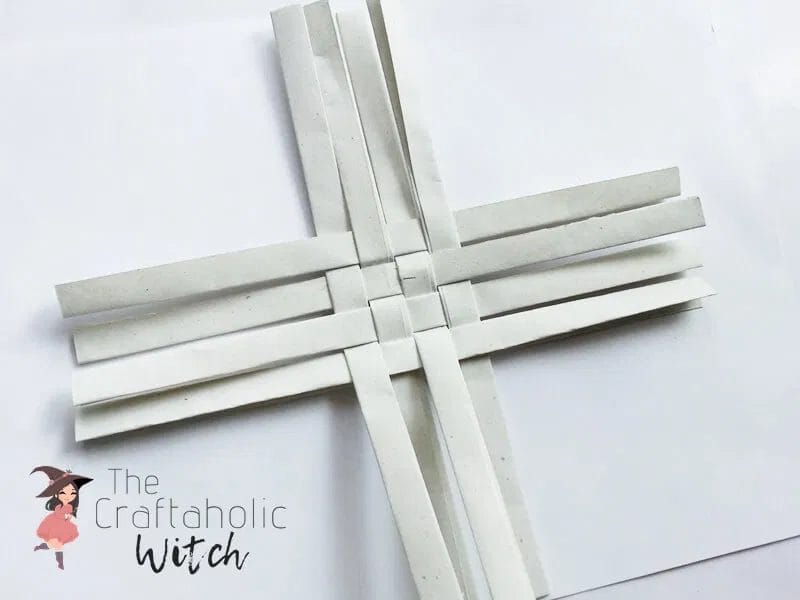
Now grab the 3 other strips and weave them over and under horizontally to form the square bottom base. make sure to keep the weave nice and adjacent.
Step 5: Marking the Bottom Base
This is very important. Use a pen or pencil to draw another square inside the bottom base square by joining the middle points of each of its lines. The smaller square is going to be the actual bottom base of the basket. Make folds along the small square lines to create creases.

Step 6: Starting the Weaving
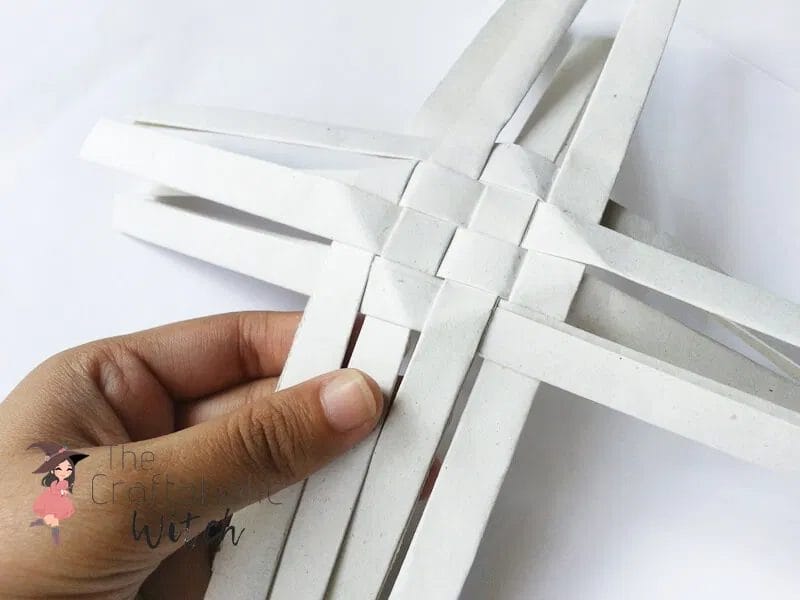
Let's flip the woven piece to the other side. We will start the weaving with any 2 middle strips.
Step 7: Weaving Over and Under
Hold any 2 middle strips and weave one over the other one (the strip which is under its previous strip should be woven over). Bring it over the next strip and pull them together by 90 degrees.
Step 8: One Corner Done!
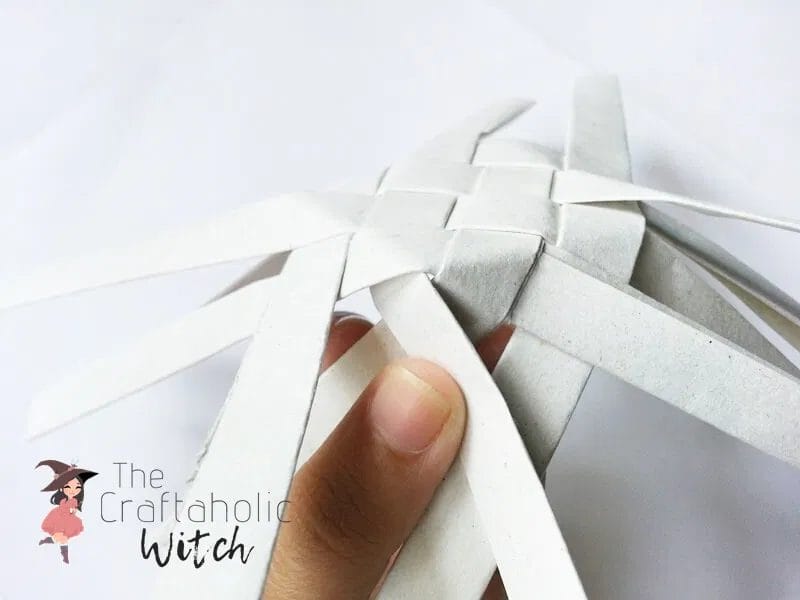
Now, weave the next strips over and under. As each side has 4 strips, you can weave the 4 strips over and under for now to form the corner of the basket.
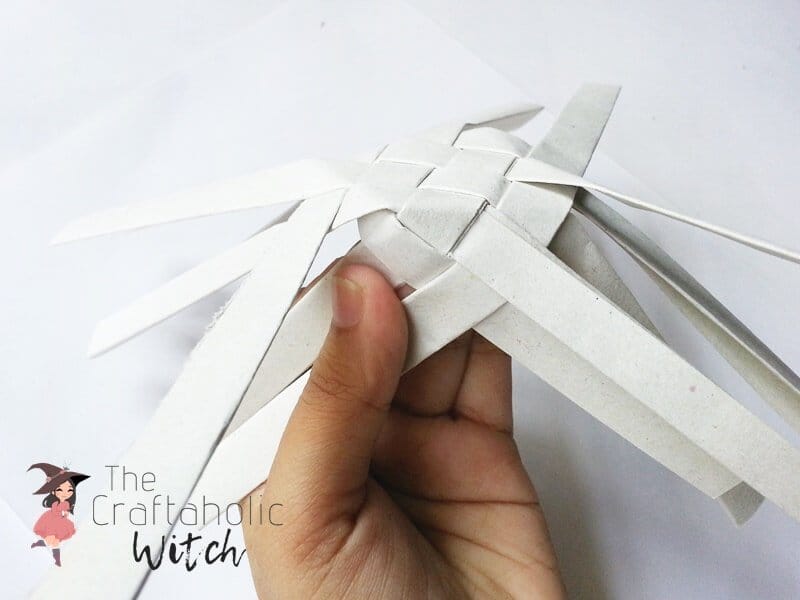
Step 9: Secure the Woven Side
Use a clothespin to secure the woven part. One by one weave the 3 other sides over and under to form the rest of the corners of the basket.
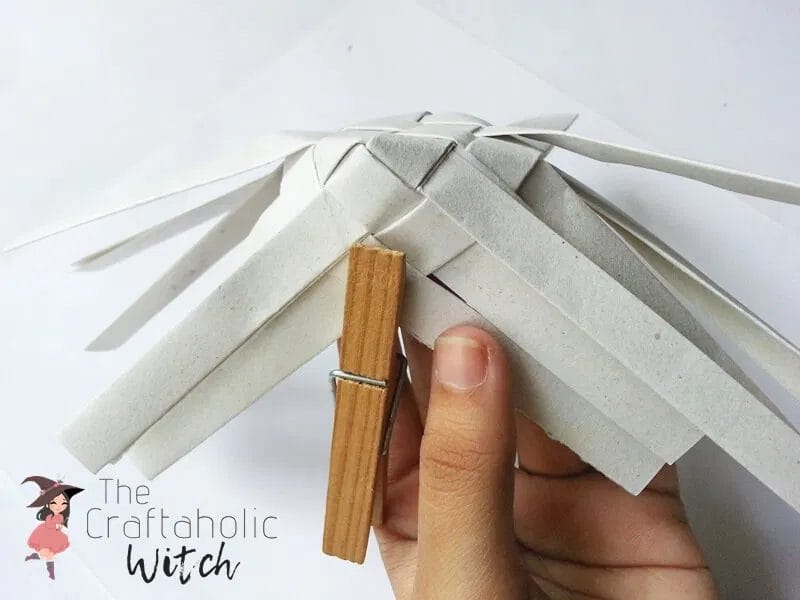
Step 10: The Bottom Base
This is how the bottom side of the basket would look like after weaving all 4 corners of the basket.
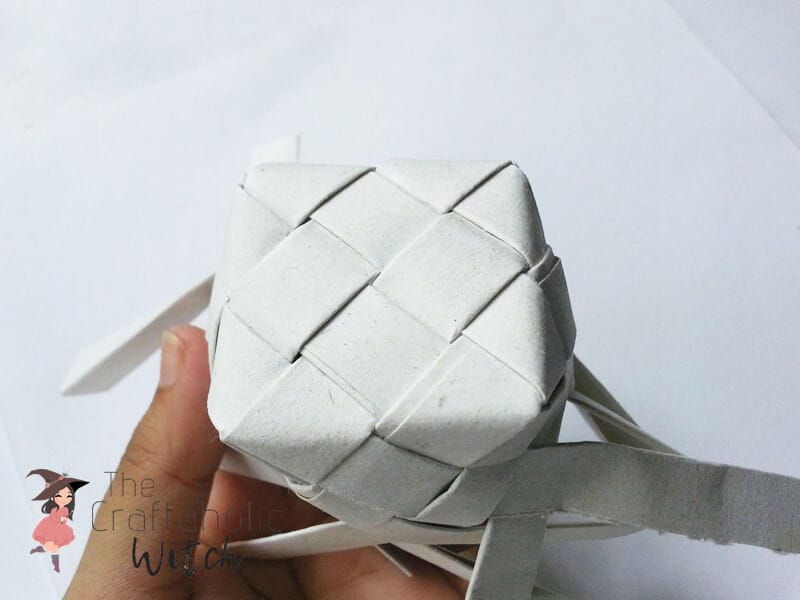
Step 11: All 4 Sides Woven Up
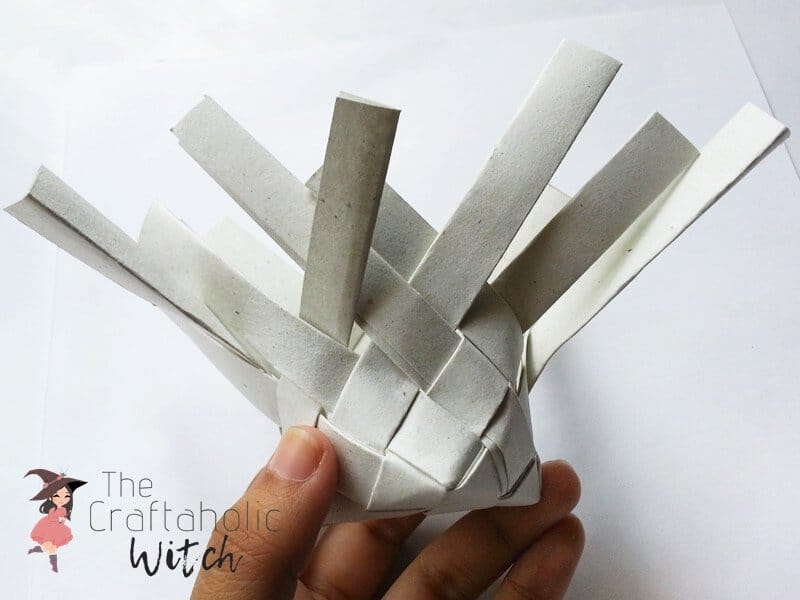
Once the corners are formed, continue to weave over and under.
Step 13: Keep Weaving Over and Under
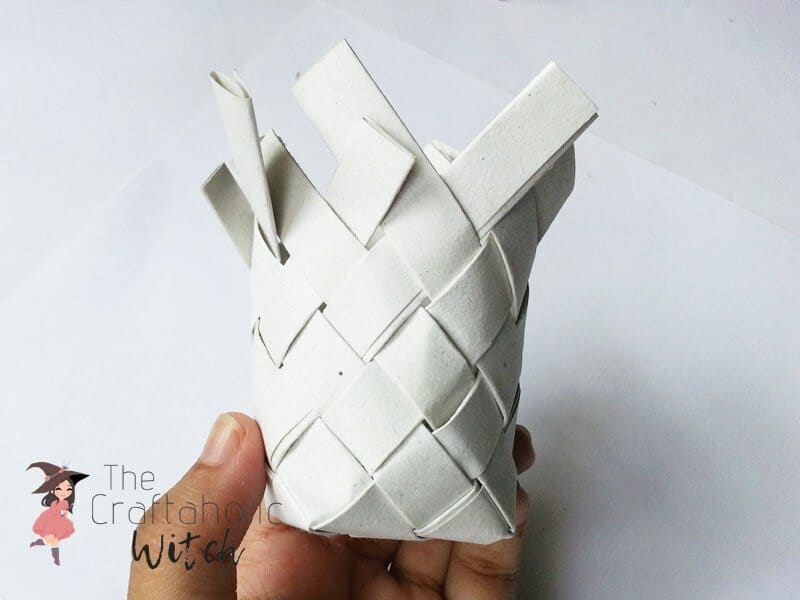
Keep weaving until the basket reaches its required height or until there is enough length of the strips left.
Step 14: Weave in the Open Ends
Make sure that at least half an inch of the shortest strip is left while weaving. the shortest strip will determine the height of the basket. carefully find out the shortest strip and tuck it inside. Now carefully and one by one tuck the rest of the strips inside by keeping the height aligned with the shortest strip.
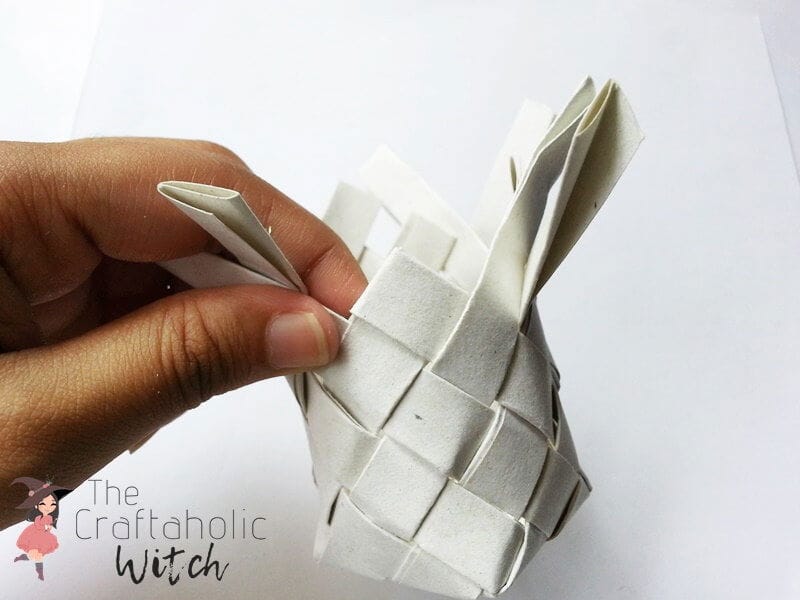
Step 15: Secure the Top End to Complete
Apply glue on the tucked-in open ends to secure the weave.
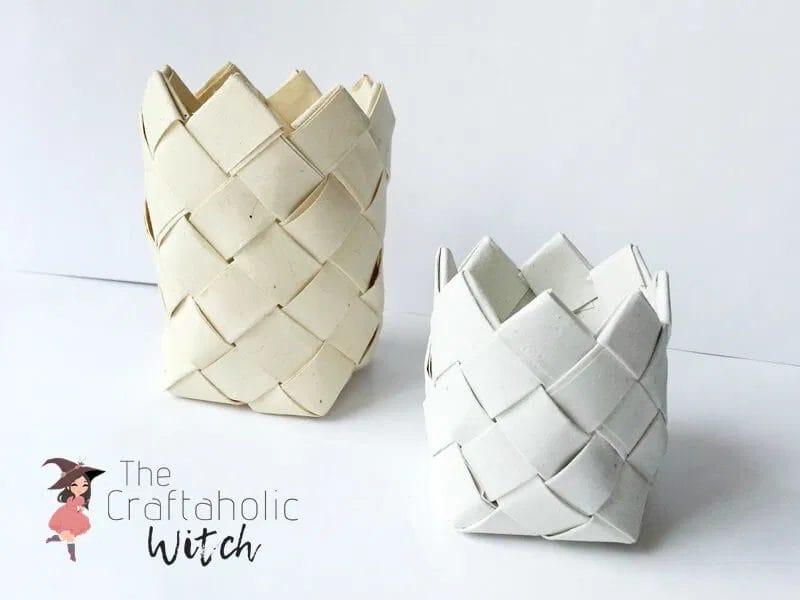
Wasn't that fun! And they look super cute! You can make them into any size and store almost anything.
Don't forget to share a picture with us if you craft one! We'd love to see your version of this recycled paper basket (You can share your picture with hashtag #craftaholicwitch or just DM your picture to us on Instagram.
If you are interested in recycled craft projects, explore our extensive list of recycling projects for both adults and kids.
Happy Crafting!
Source: https://www.thecraftaholicwitch.com/recycled-paper-basket-weaving/
0 Response to "How to Make a Basket Origami"
Post a Comment