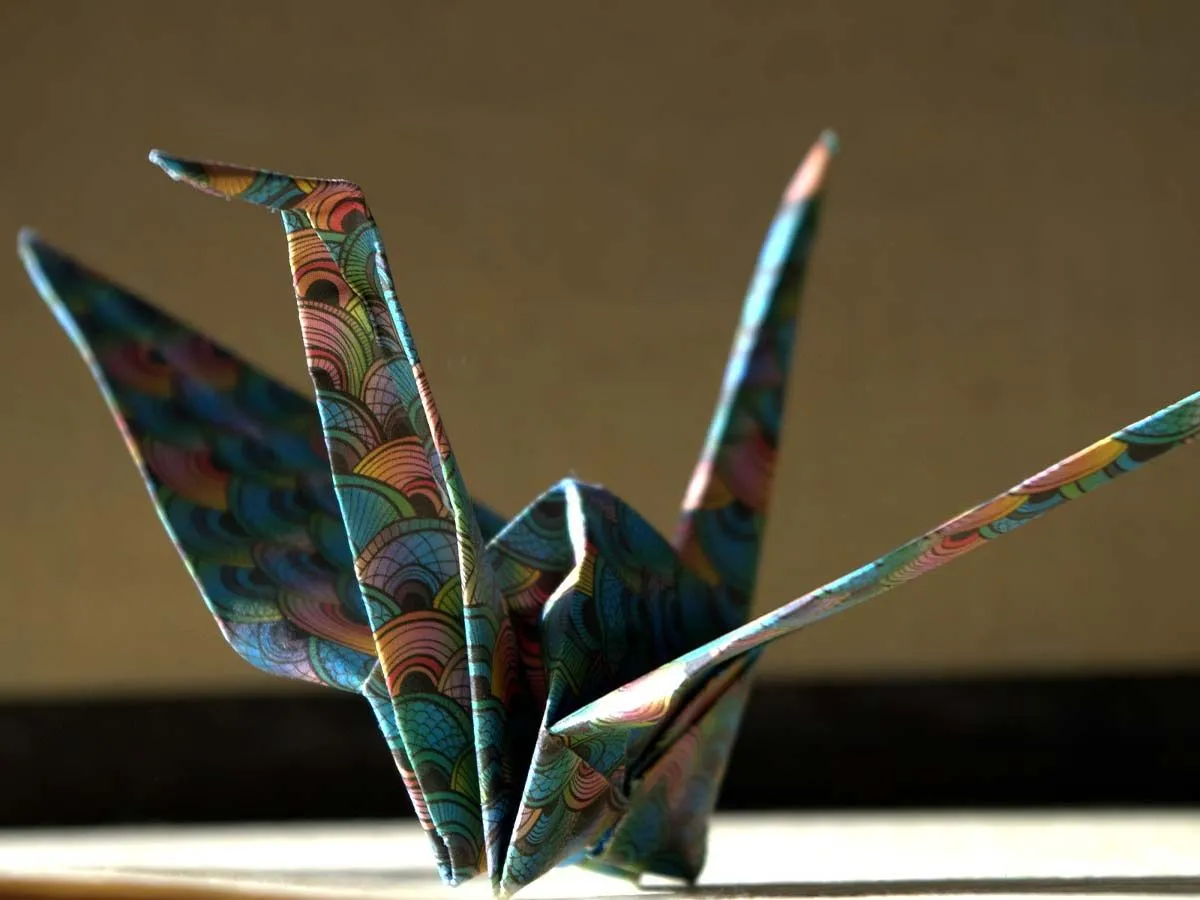
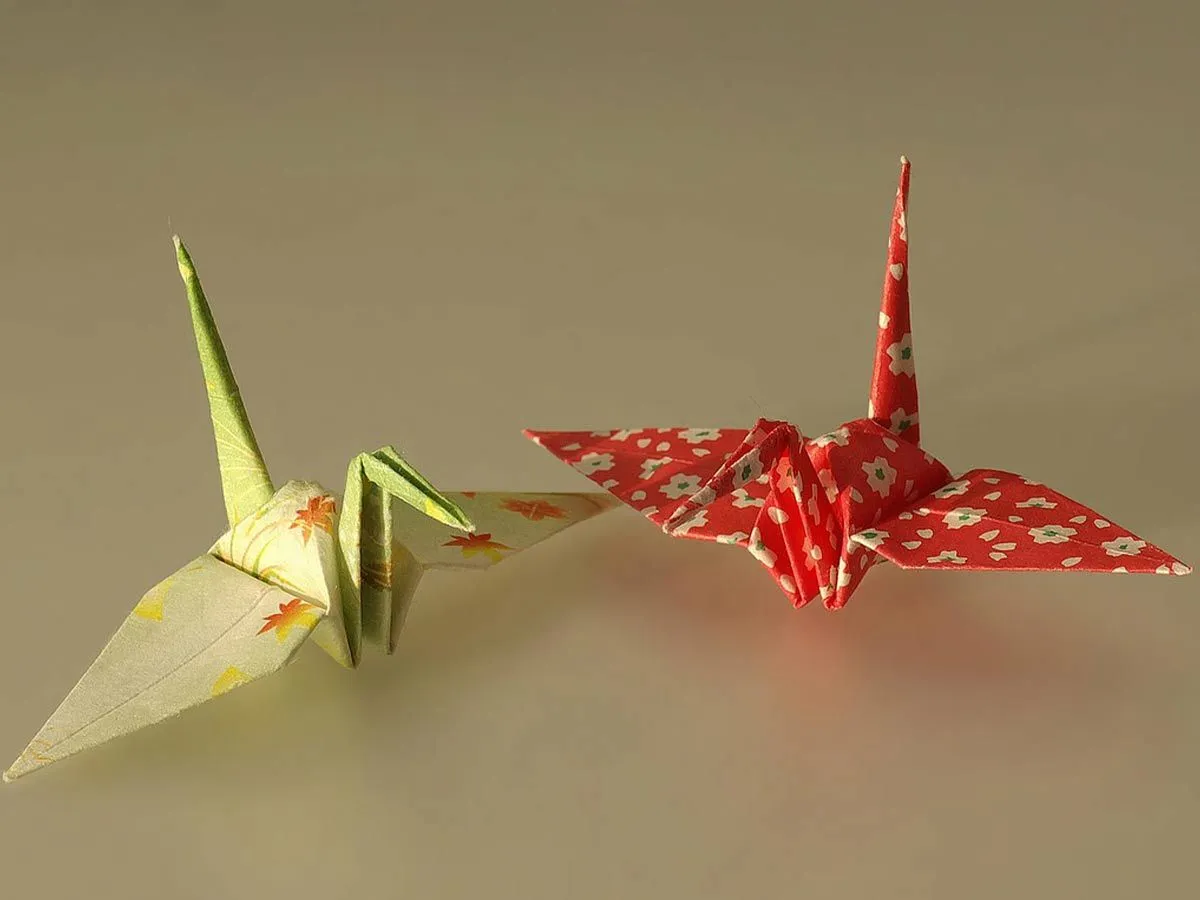
How to Make an Origami Swan 3d Step by Step
Image © asundermeier, under a Creative Commons license.
Origami is a traditional craft that involves making folds in paper to create beautiful origami models such as animals, hanging decorations and geometric sculptures.
3D origami differs slightly as rather than using one piece of paper to make an origami model, this technique uses multiple bits of paper to create one finished sculpture. Our step by step swan tutorial to make a 3D origami swan may take a little longer to work through than traditional origami models, but the finished creation is definitely worth the time investment.
3D origami is definitely one of those paper crafts that is rewarding to do and once mastered, means you and your kids can get creative any time and make 3D origami structures of all shapes and sizes.
What You Will Need:
Scissors
Ruler
9 sheets of A4 printer paper
A black pen
An orange pencil

3D Origami Swan Tutorial:
1) The first step to this 3D origami swan tutorial is to create the many pieces of paper you will need to create your origami 3D swan. Each of your nine sheets of printer paper needs to be divided into 32 rectangular pieces.
2) For each sheet, divide it horizontally into four pieces, then vertically into eight pieces using the pen and ruler to draw your lines. Cut your sheets of paper to give you 288 rectangles, 270 of which you will use for your 3D origami swan.
3) Now you can make 3D origami triangles that will be the basis of your entire creation. For each paper rectangle, with the long edges at the top and bottom, fold in half horizontally, then again vertically.
4) Open back the last fold, take the top left corner and fold it down at a 45-degree angle so that the top edge now runs vertically along the centre crease. Repeat with the top right corner.
5) Flip the paper over, take the outer corner of each of the overhanging flaps and fold these in to reach the bottom edge of the triangle. Finally, fold the flaps up and then press the paper in half to create a triangle-shaped structure that stands on its own.

6) The next part of our 3D origami swan tutorial is to create the base level. To do this, you need 60 of the paper triangles you have made. Simply connect them by inserting the points of each triangle into the 'pocket' of the one next to it. Do this until all 60 are joined and you have made a ring.
7) Now, create the 2nd, 3rd, 4th and 5th layer of your 3D origami swan in the same way but using 30 triangles for each ring. To connect each 3D layer, you need to slot one point from each of the two triangles below into the pockets of the triangle above. Repeat until all of the five layers you have made are joined.
8) The next step is to make and attach the wings of your 3D origami swan. You will need 29 paper triangles pieces for each 3D origami wing.
9) Start by connecting nine for the base of one wing to your 3D origami swan base and then on top of this add eight, then seven, then four and finally, one last triangle for the tip of the wing. Repeat this for the other wing on the opposite side of your 3D origami model.
10) To make the tail of your 3D origami swan, take six triangles. Place three at the bottom, two above them and one at the top. Attach this to the back of your 3D origami swan, centred between the wings.
11) Next comes the chest of your 3D origami swan. Start with four triangles at the bottom, then add three above them, two above them and finally one at the top. Connect this to your 3D origami swan at the front, between the wings and in line with the tail.
12) The last instruction in our step by step swan tutorial is to make 3D origami for the neck. This step uses 18 triangle pieces and you connect them by slotting the two points from one triangle into the paper slots of the triangle below. As you do this, curve them round slightly to create an elegant swan neck shape. Attach this to the chest of your 3D origami swan.
13) Finally, colour the beak of the swan orange and add two eyes using the black pen. Your stunning 3D origami swan is complete!

Top Tips
Now you know the basic of how to make 3D origami models, you can add this to your bank of fun paper crafts to do with the kids any time.
Why not try using different coloured paper to make a multicoloured 3D origami masterpiece or adding glitter to your 3D origami swan to create a lovely decoration for the festive period?
You can even get creative with by placing coloured triangles into your origami swan to create eye-catching patterns.
How to Make an Origami Swan 3d Step by Step
Source: https://kidadl.com/articles/how-to-make-an-incredible-3d-origami-swan
0 Response to "How to Make an Origami Swan 3d Step by Step"
Post a Comment